Touch Sensitive Keyboard
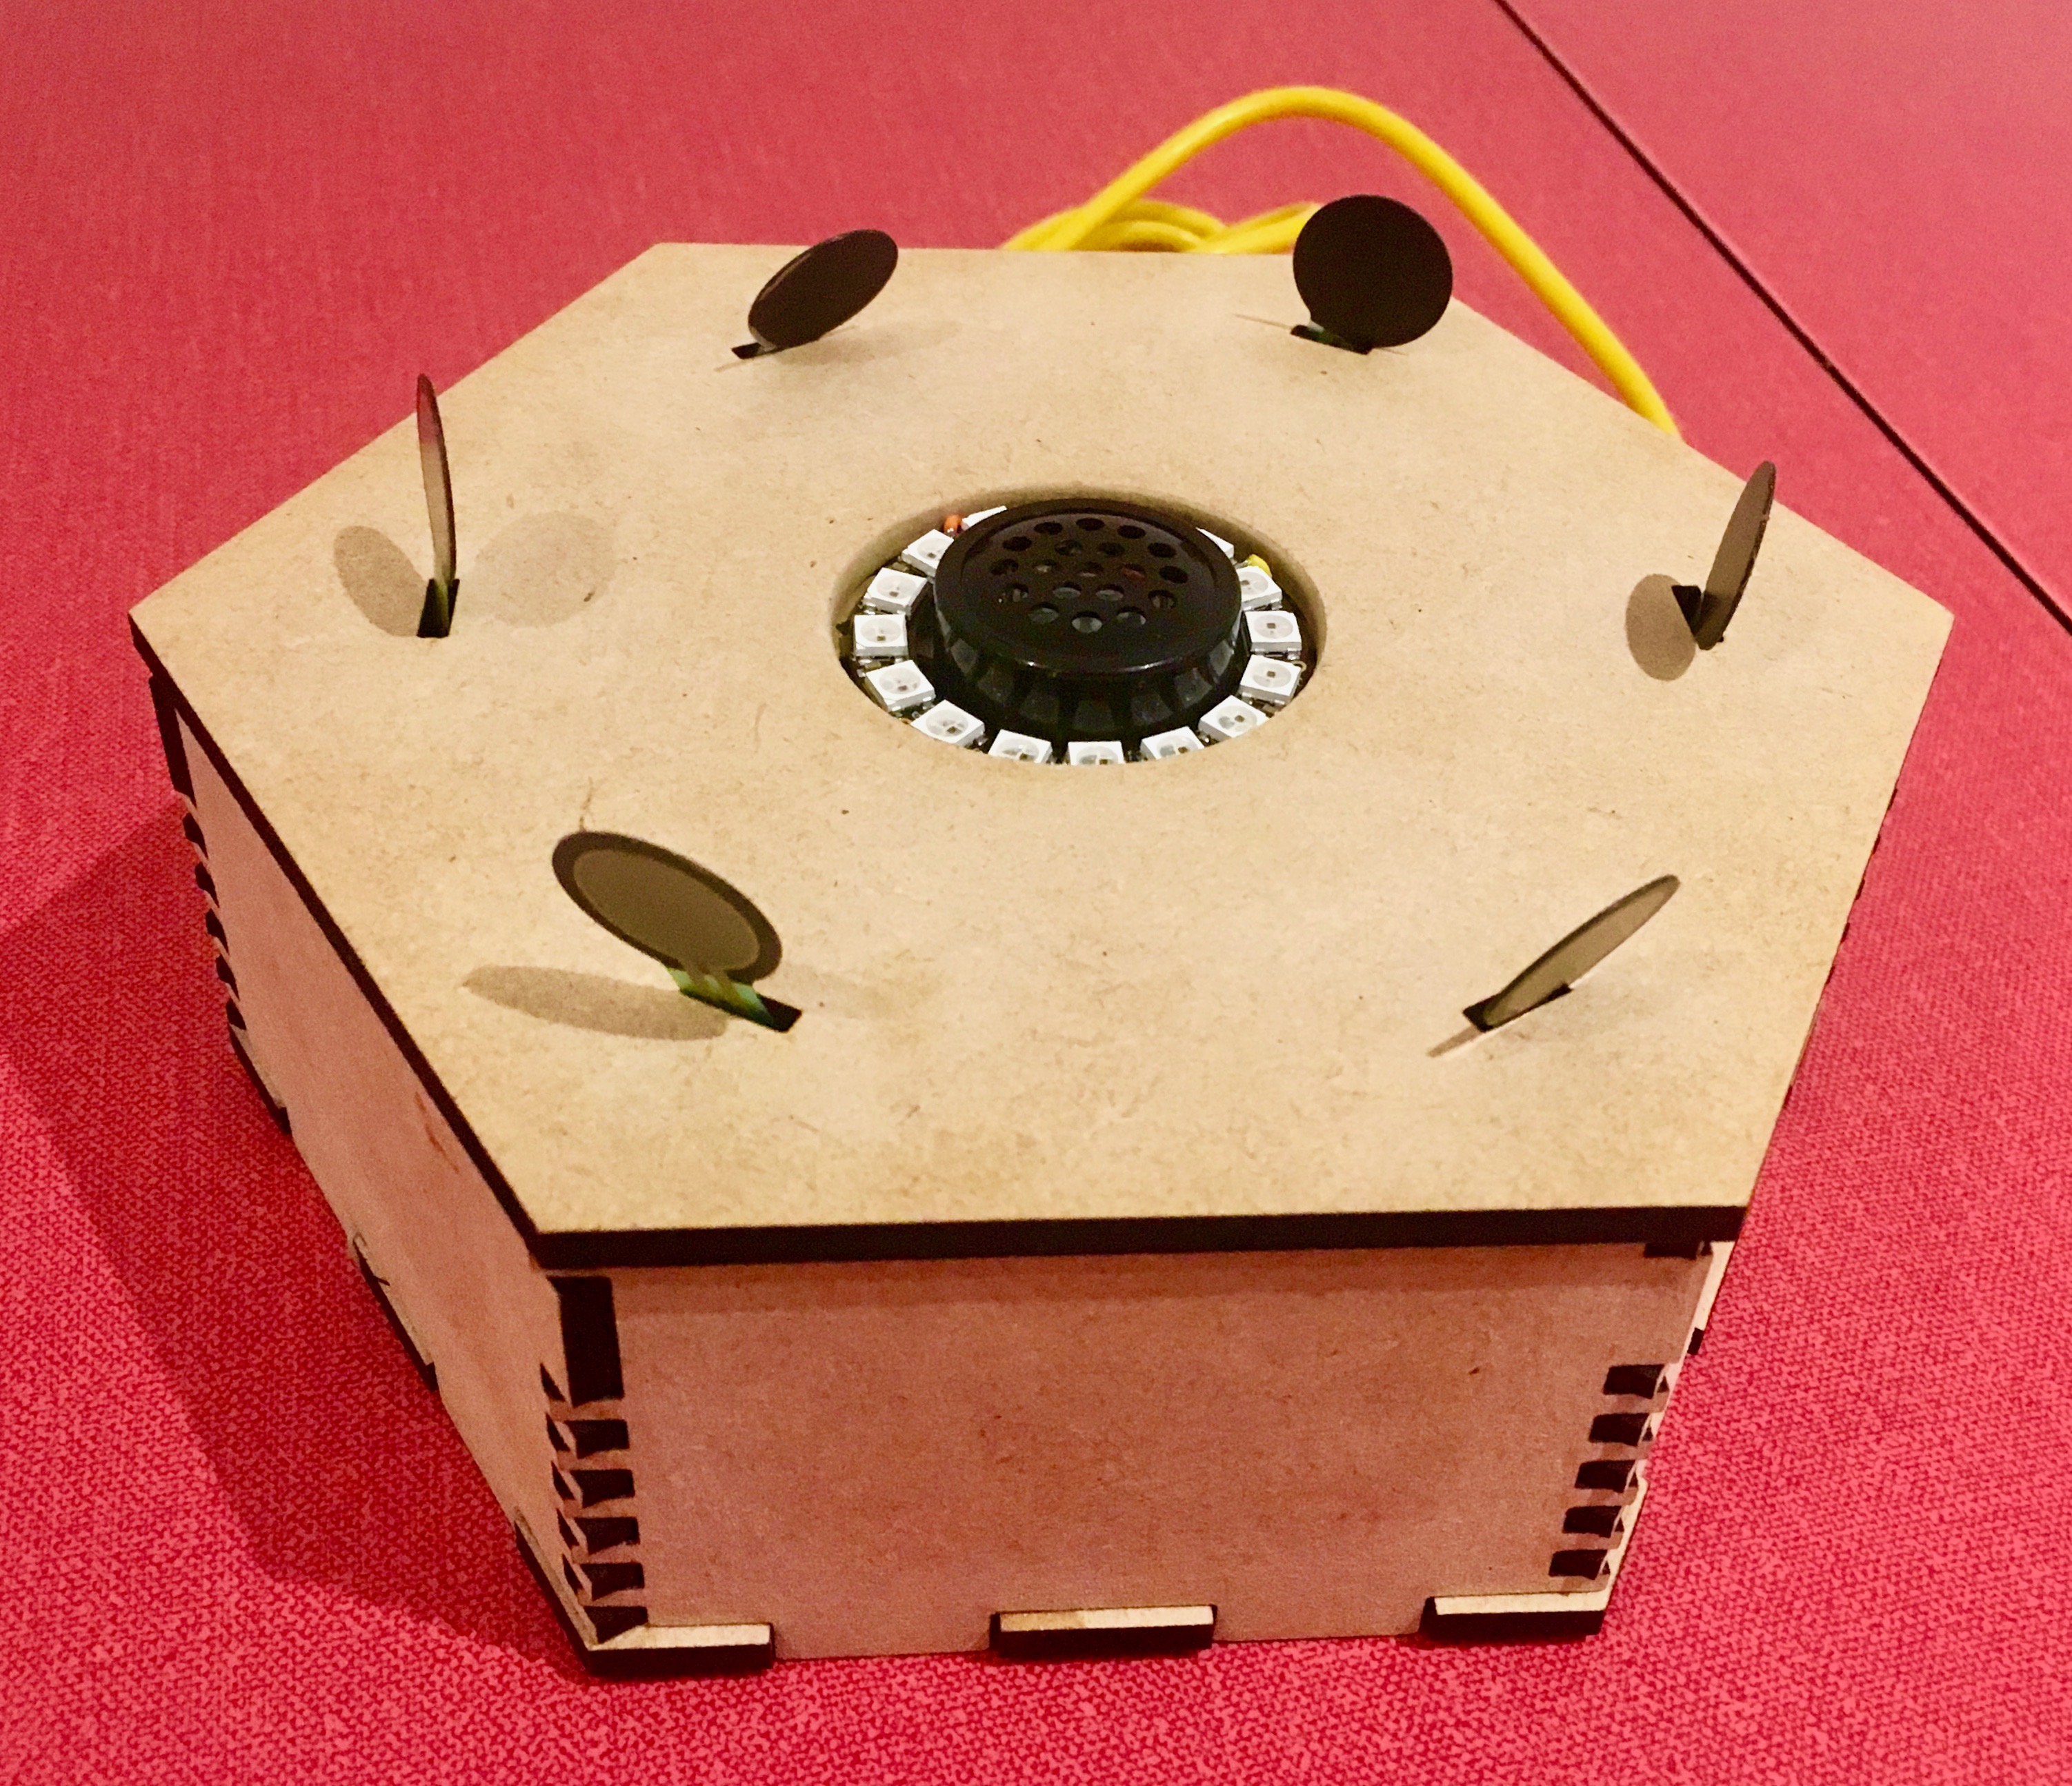
I created a touch sensitive keyboard with an Adafruit Neopixels Ring LED strip. I set out to create something that I would use in a musical context, and using code means that the note arrays are malleable for whatever key or mode you want to work in. I used the Neopixels LED strip to create an engaging visual reference for the sound. I was inspired by Japanese and Scandinavian minimalist design, so my design goals were for the work to be sleek, simple and modern. I chose a hexagon because I could imagine the work being developed to have multiple tessellated instruments that are all programmed in different keys.
Produced by: Freya Berkhout
Technical
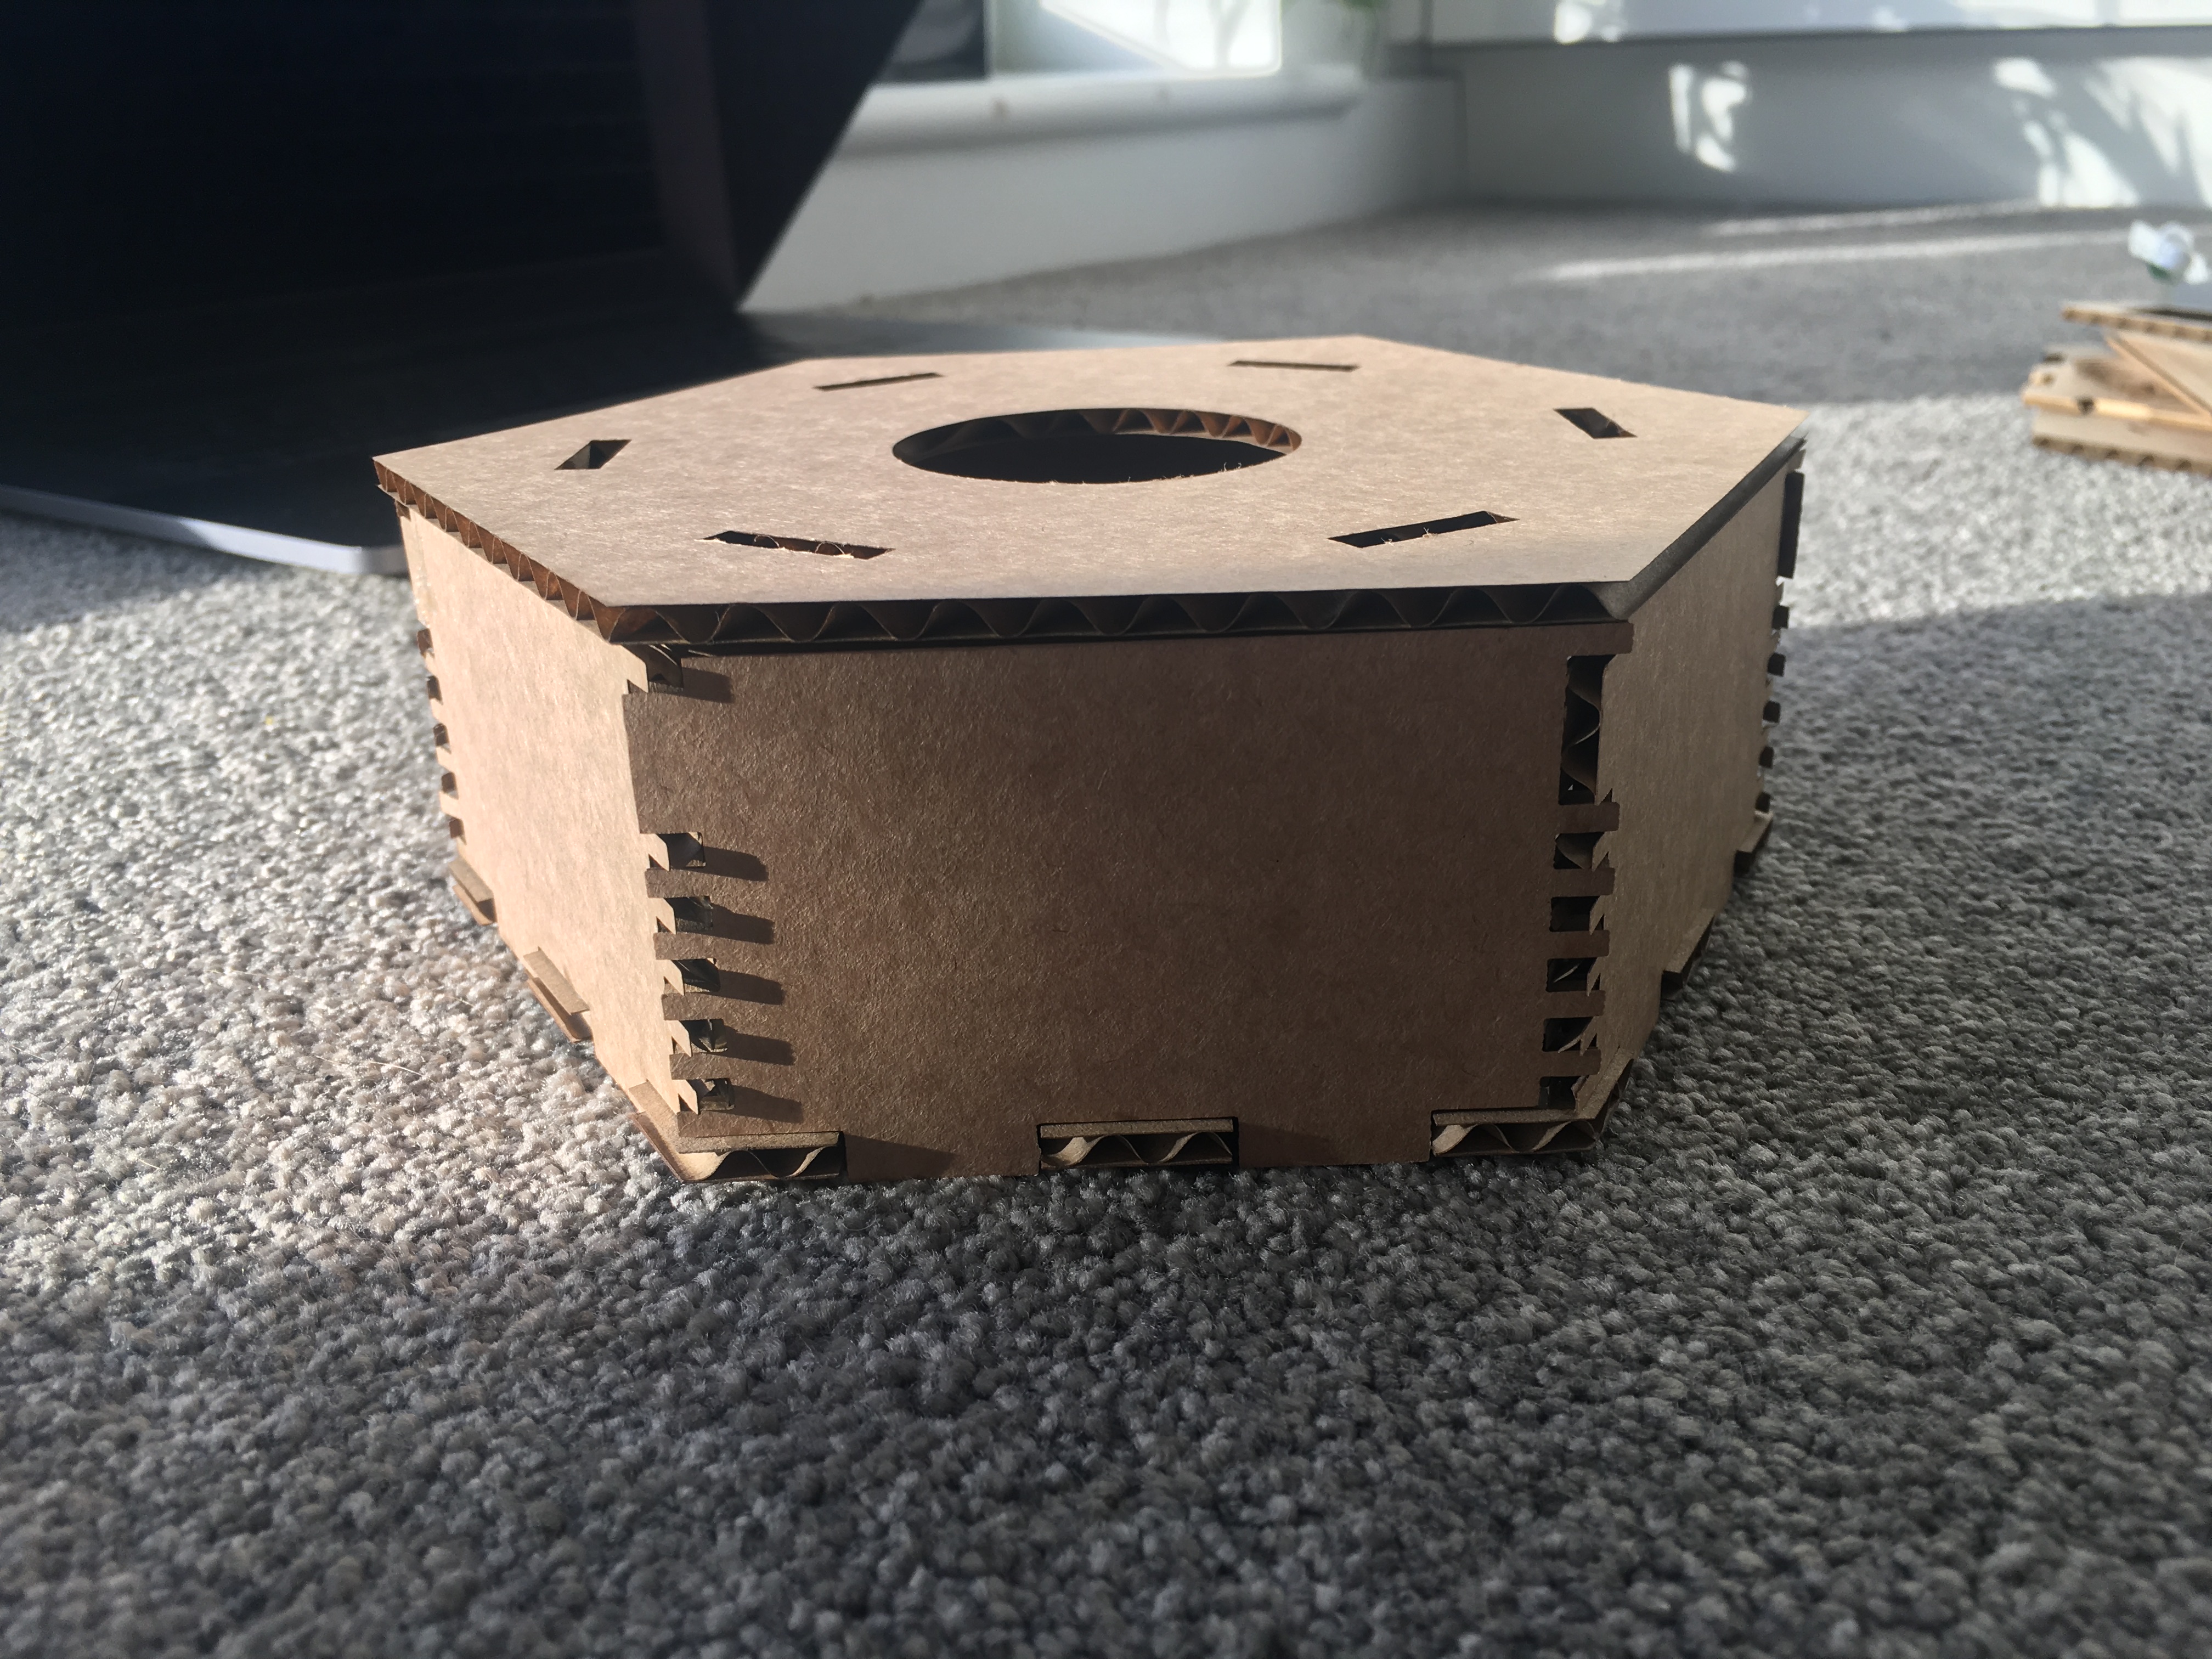
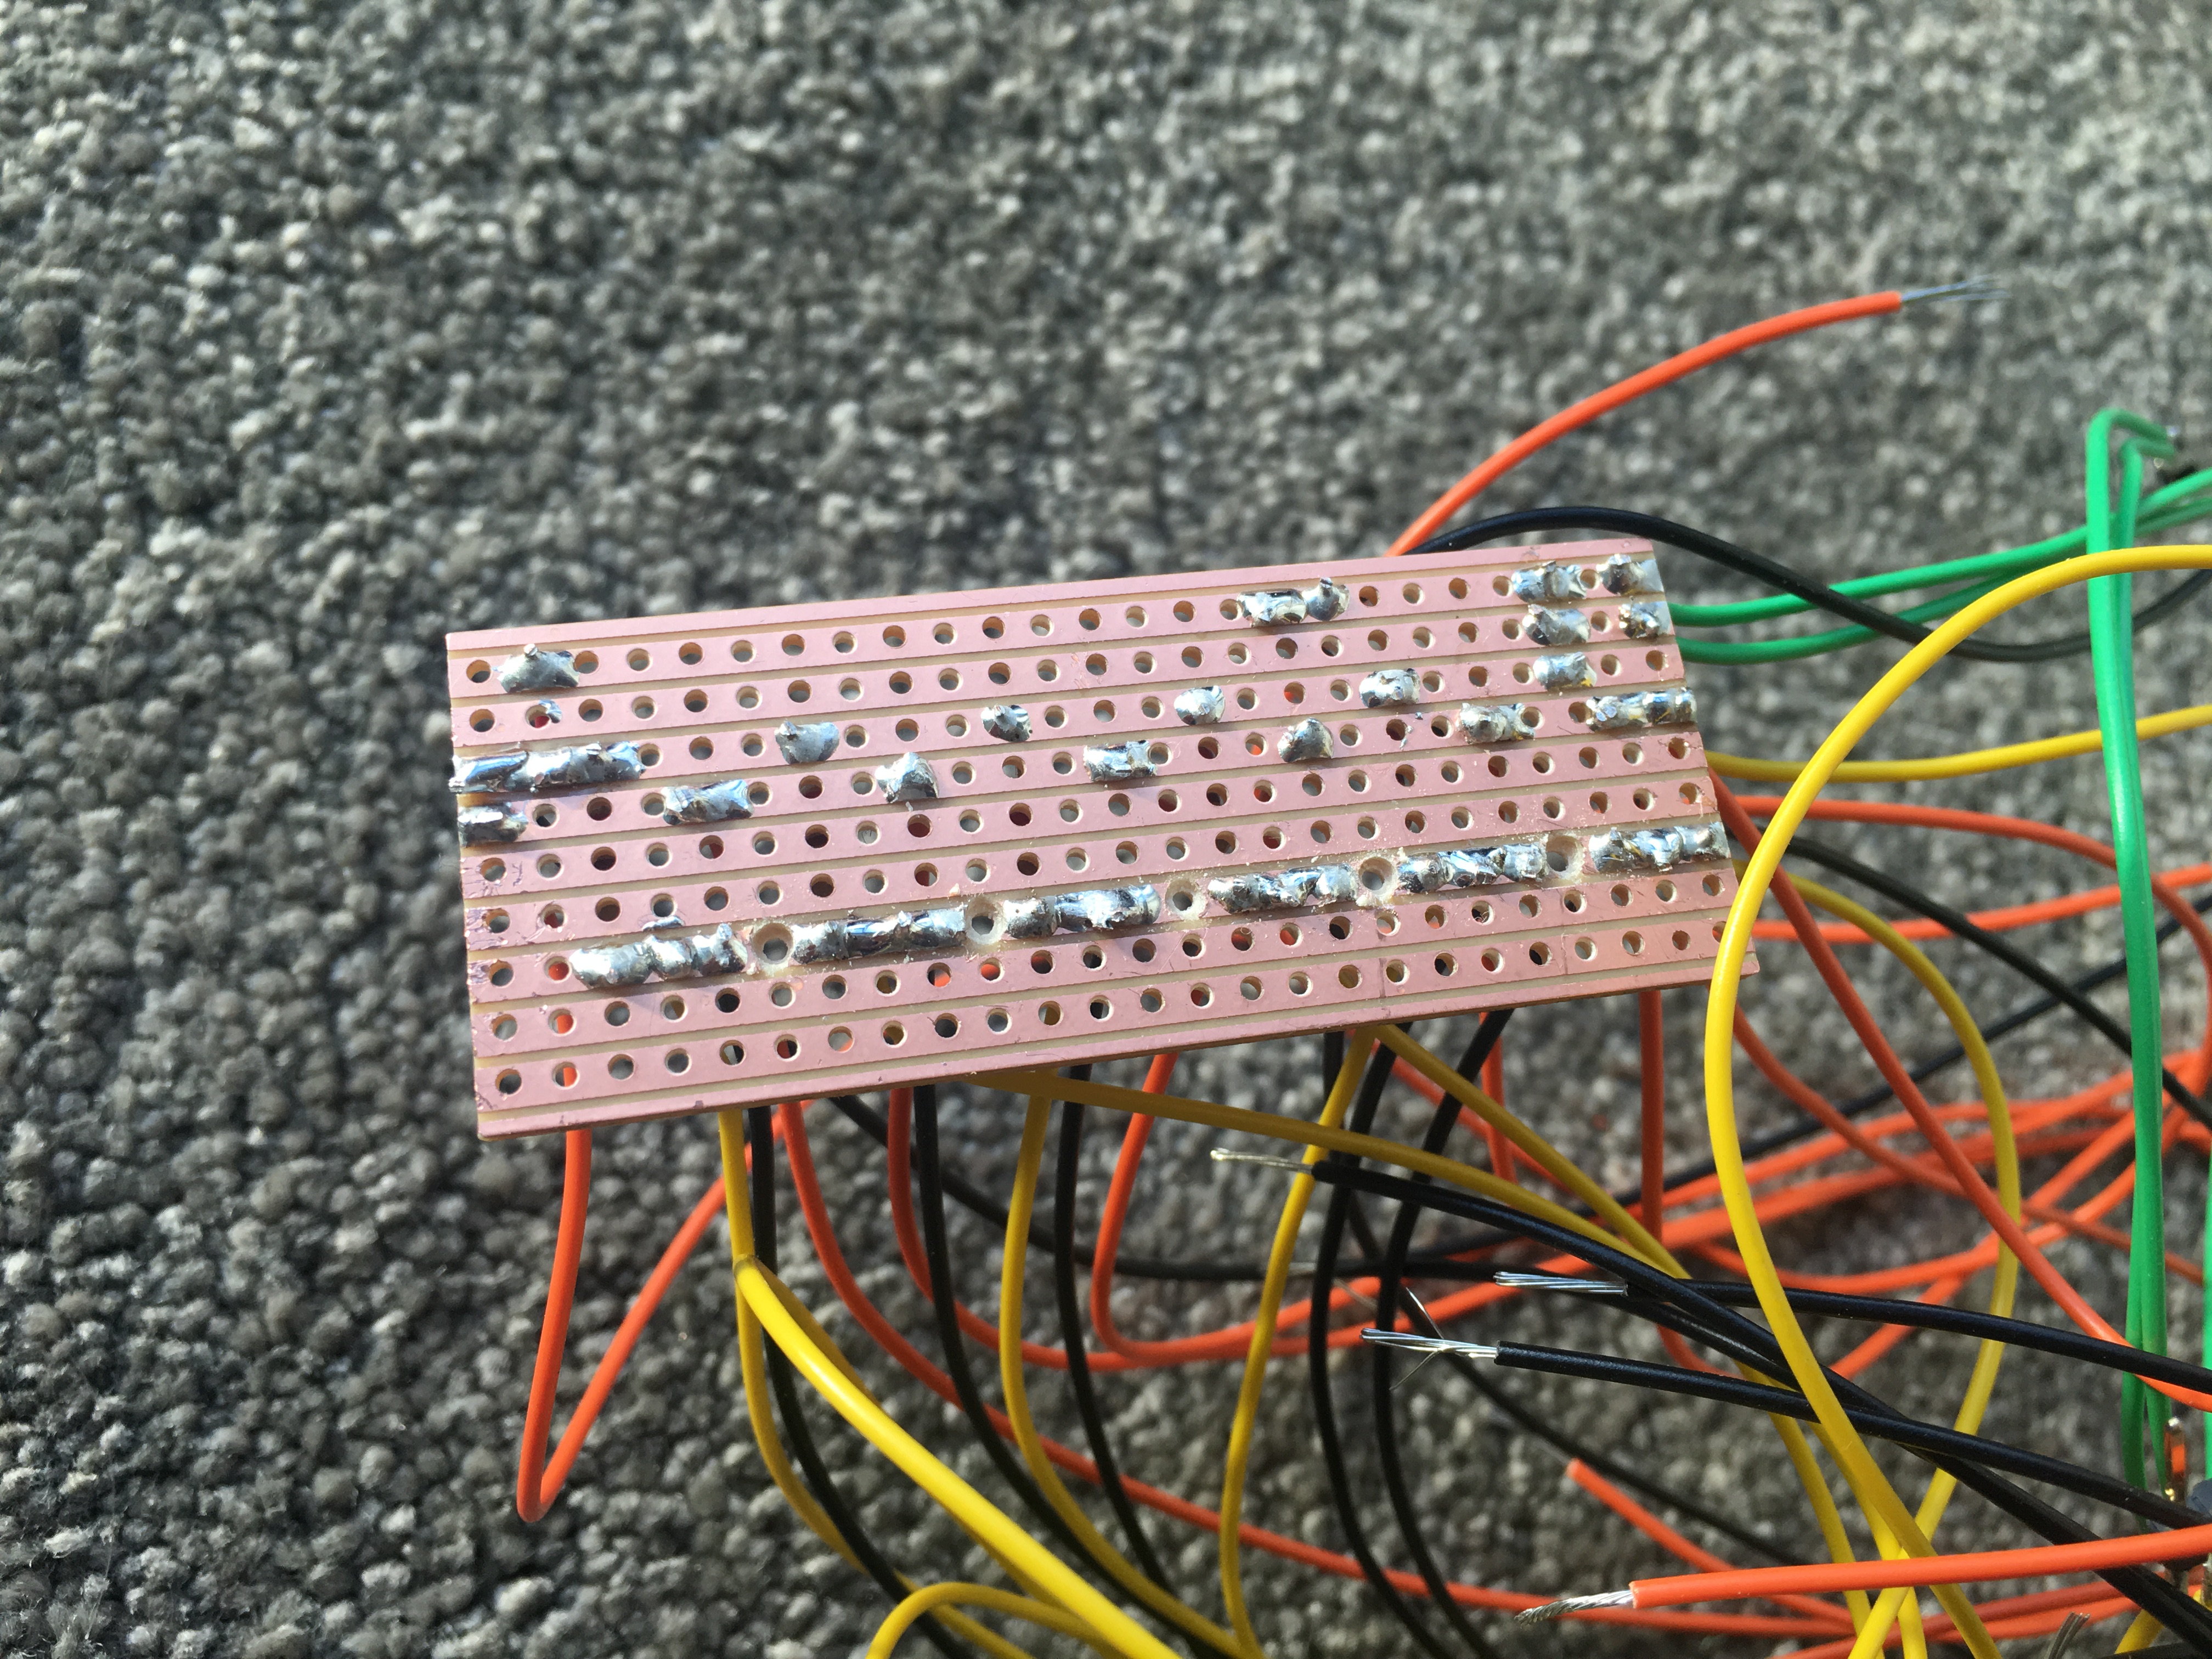
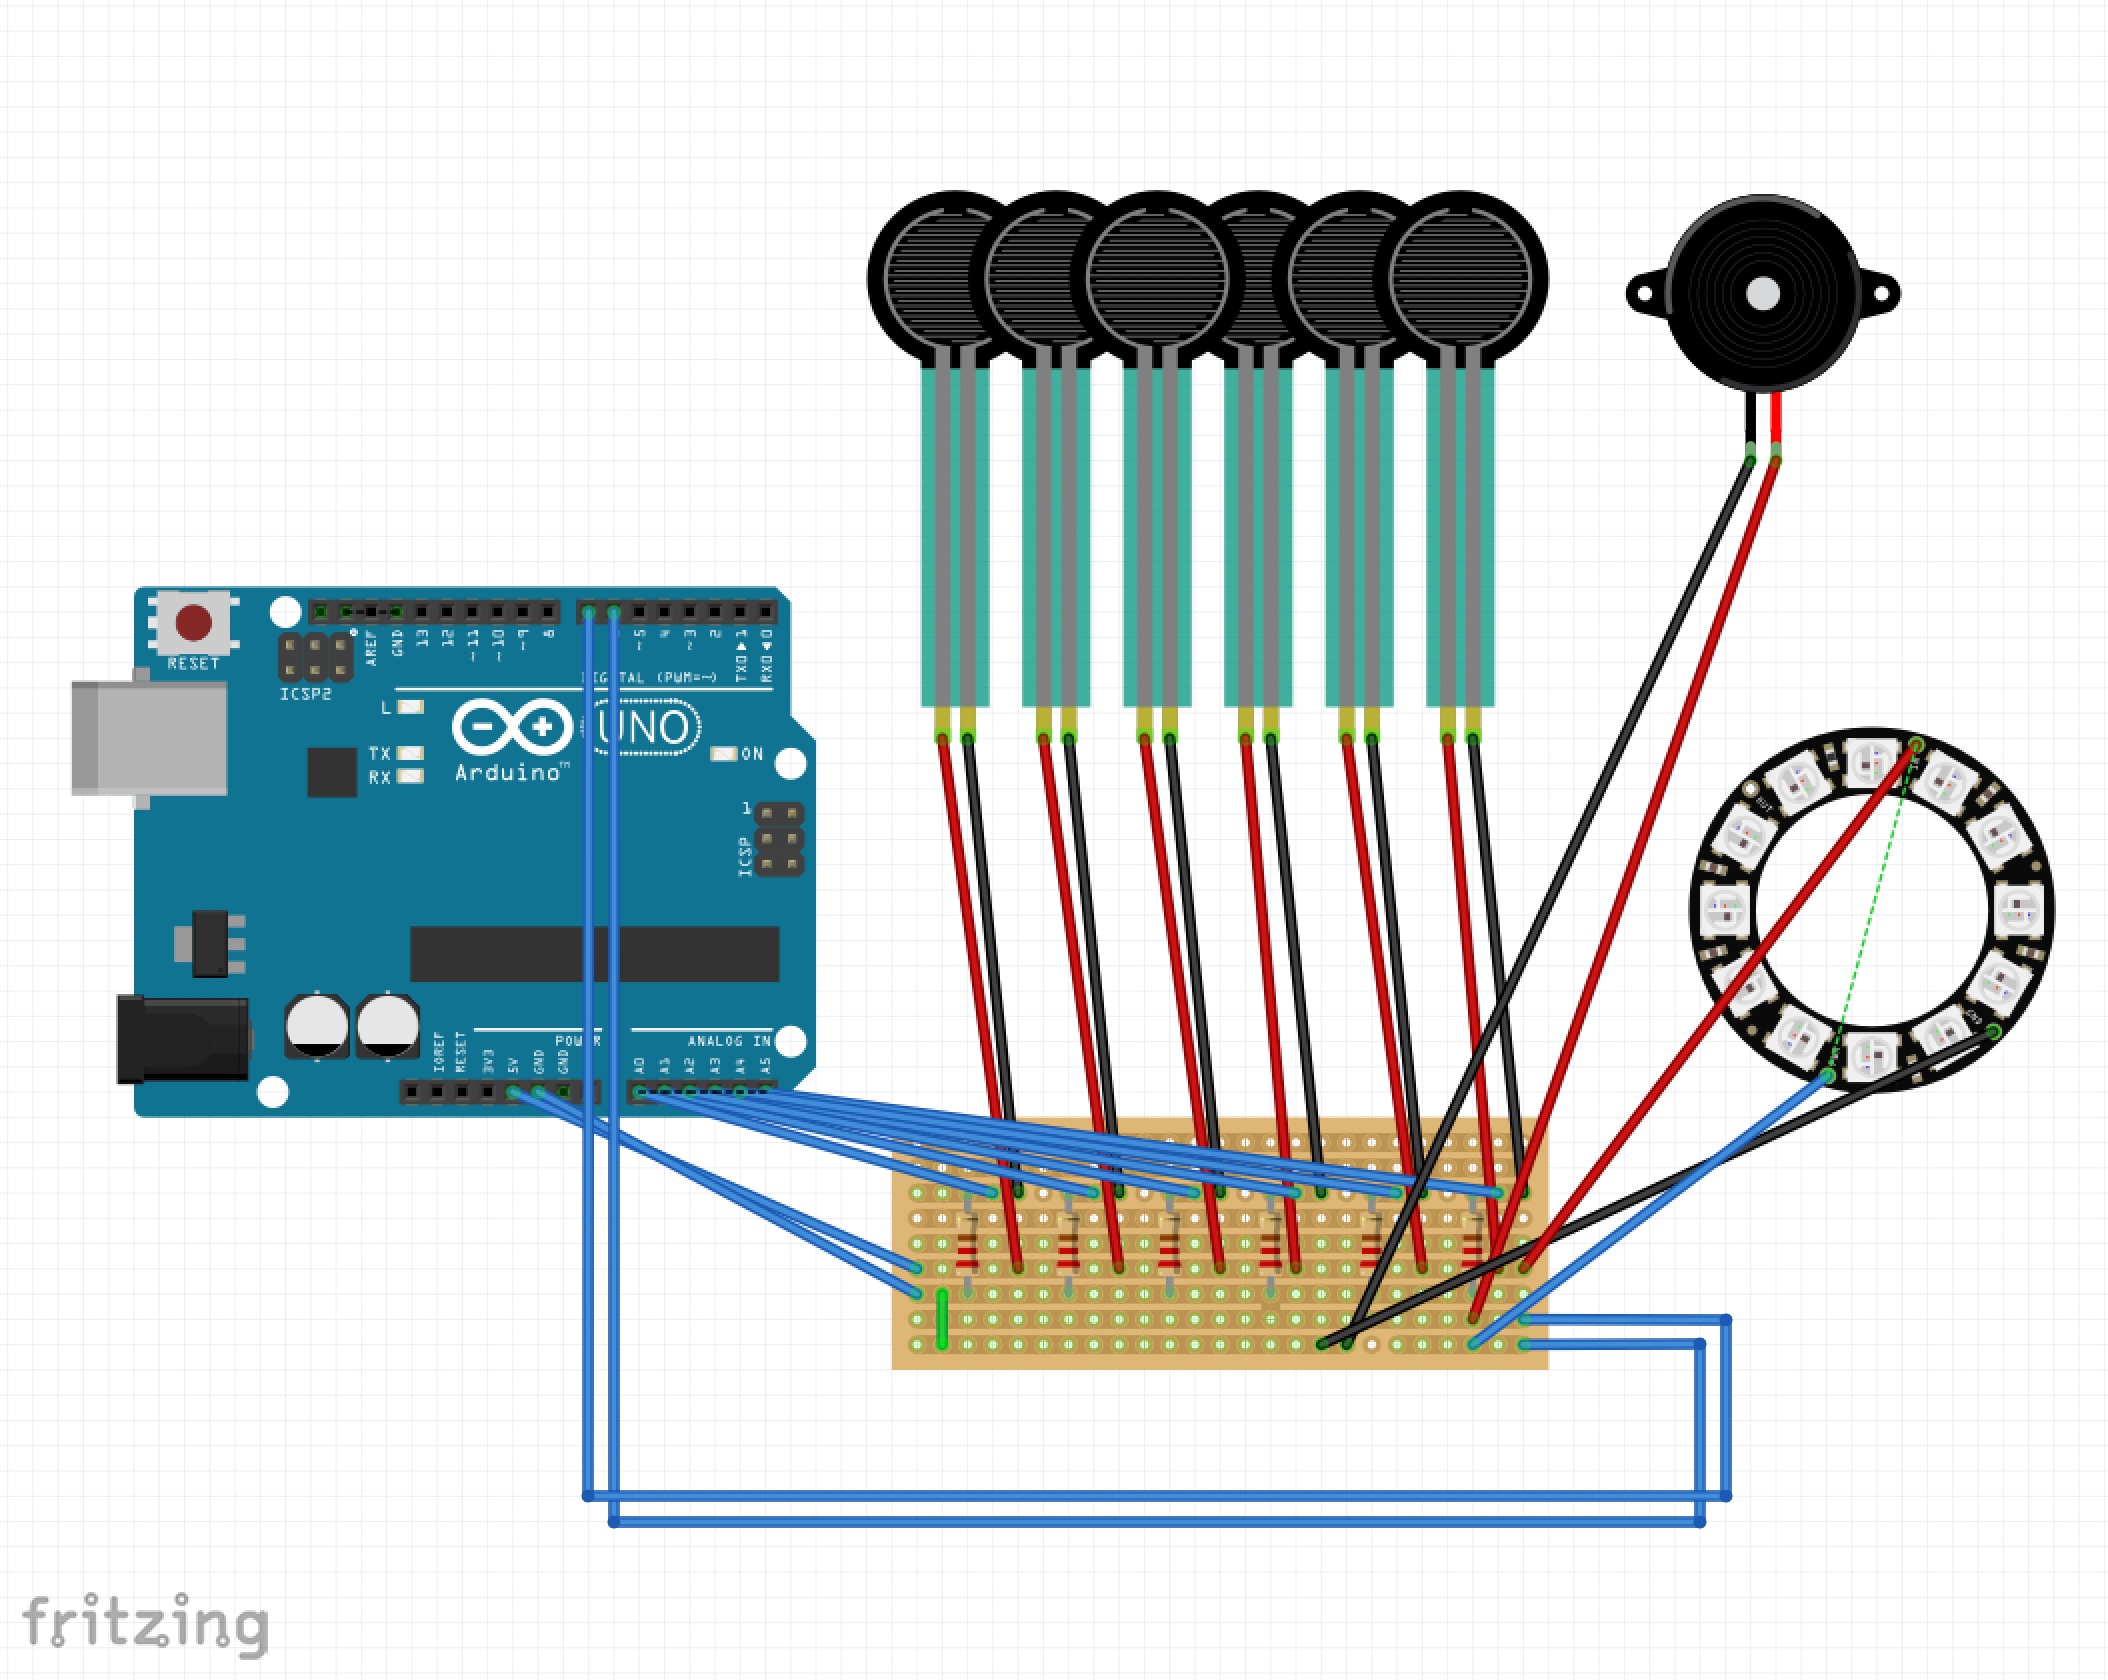
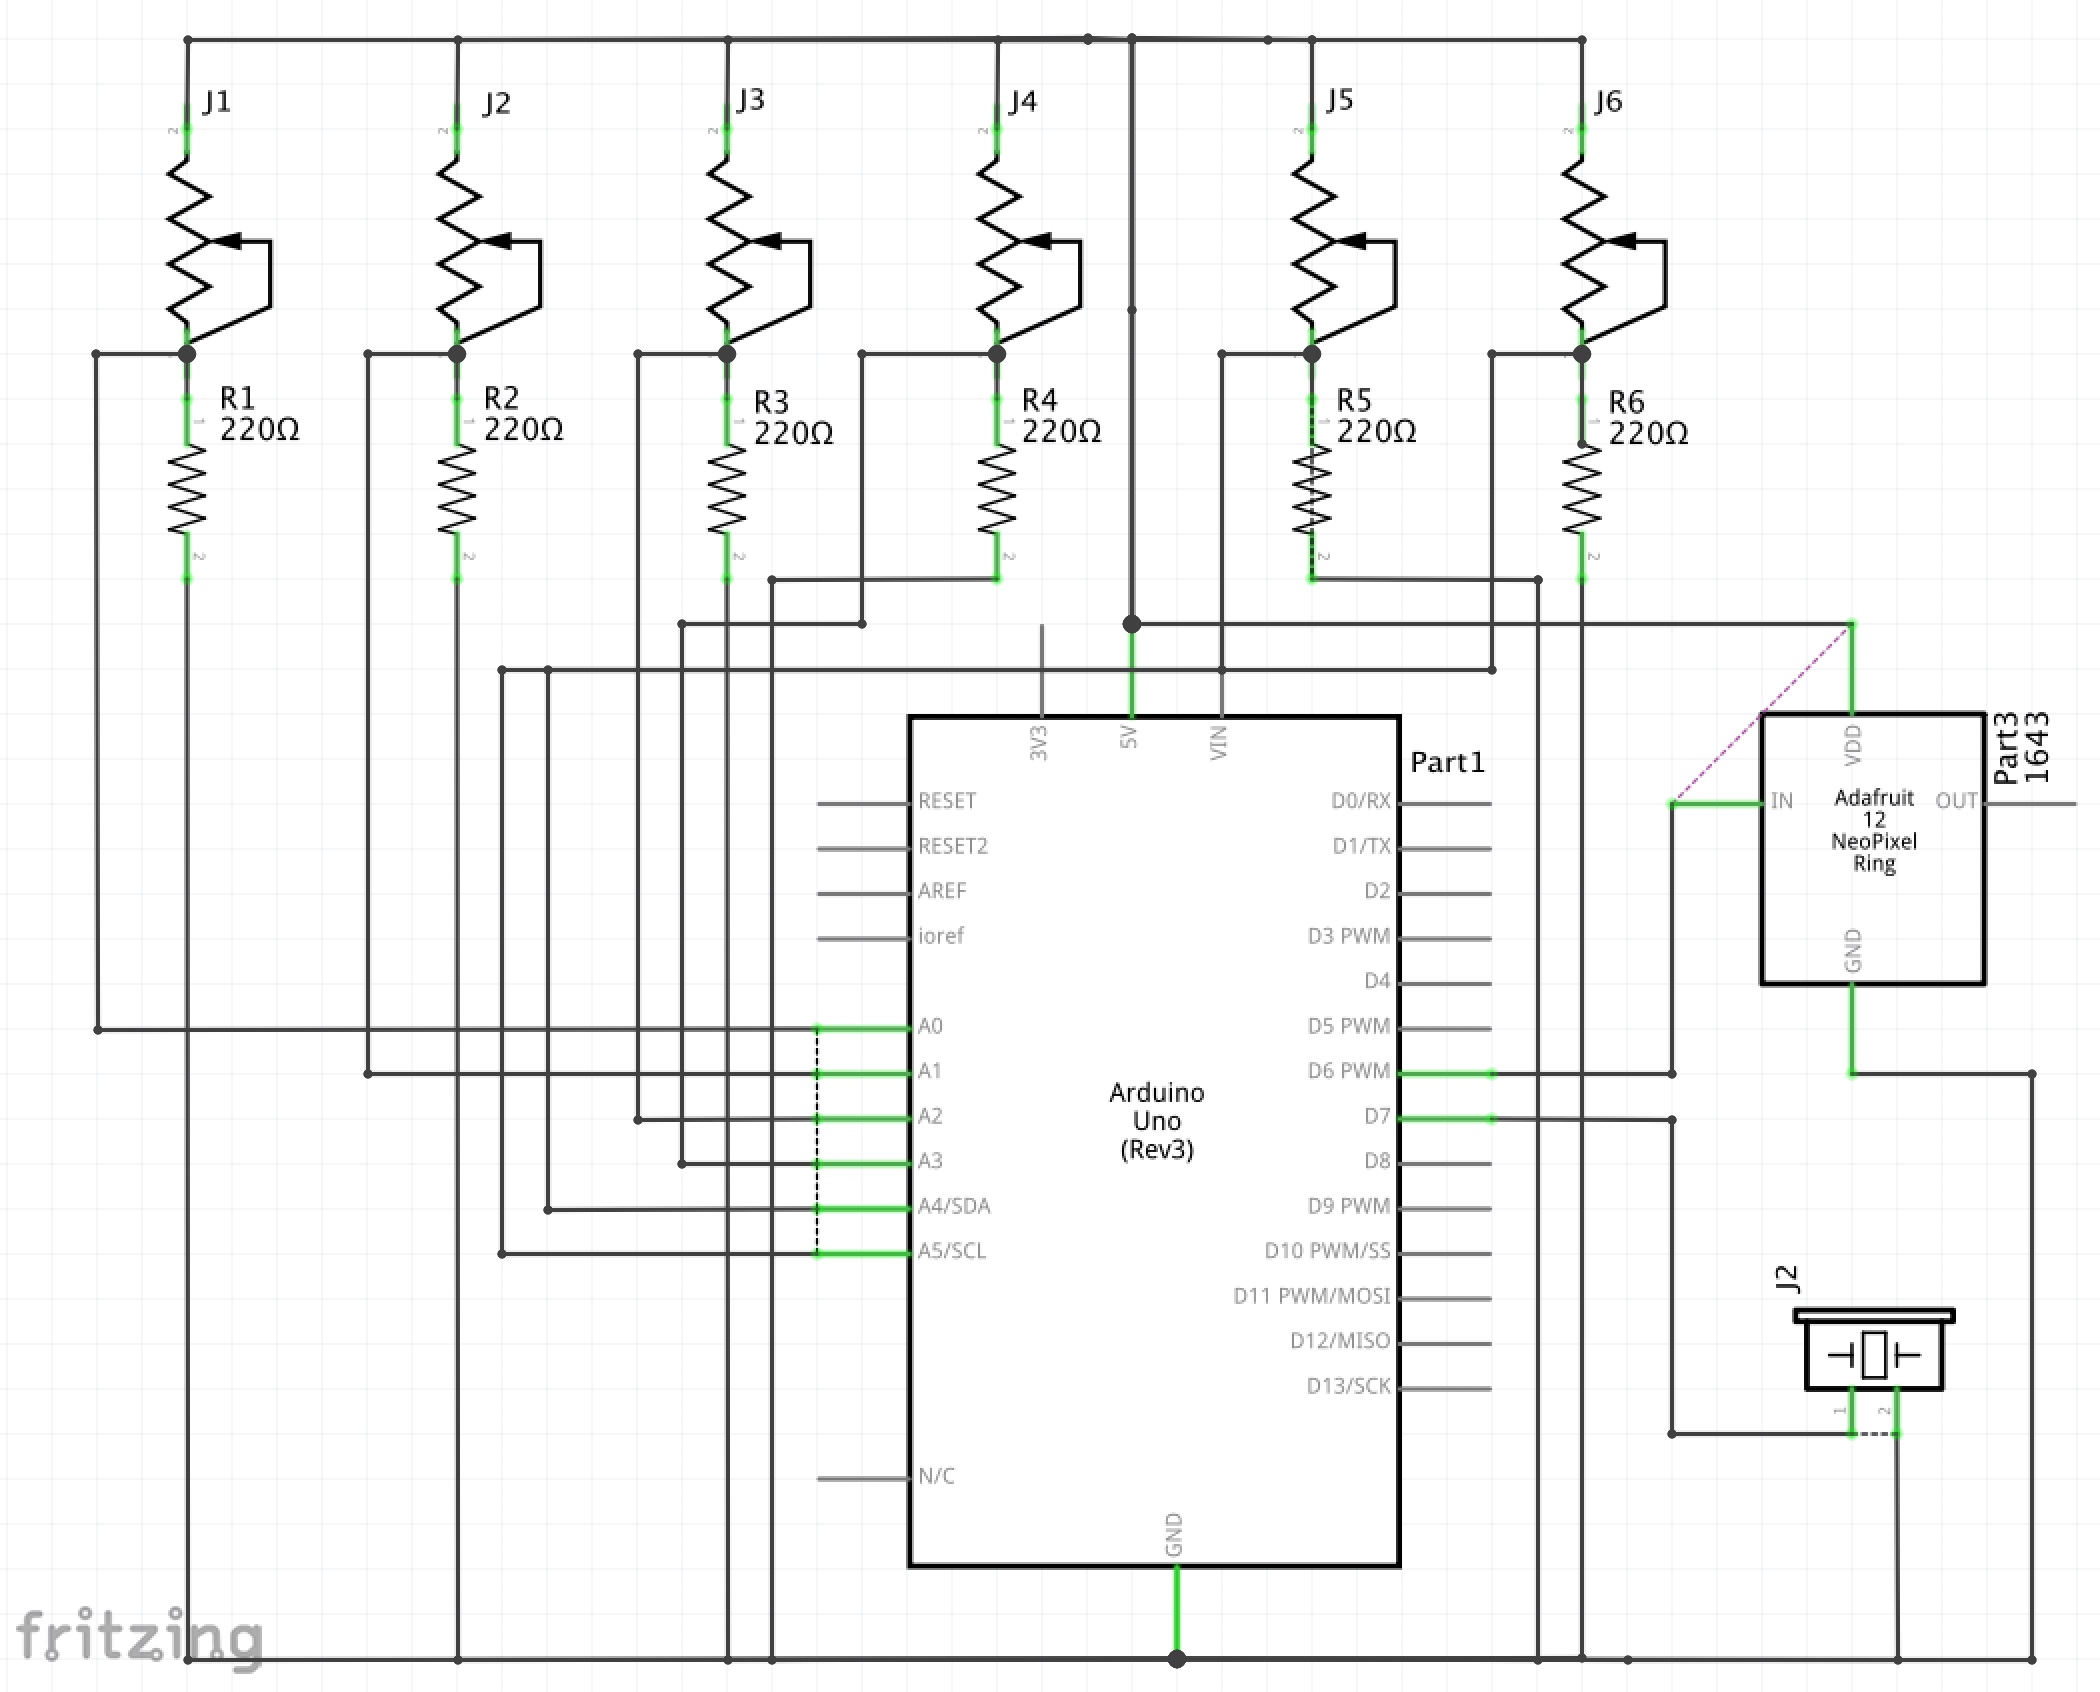
I used 6 force sensing resistors, which allowed me to create arrays of notes that would play a sequence as you squeezed the sensor. I initially set out to create a capacitive keyboard using coins, but decided that force sensing resistors allowed for more flexible sound programming. I was originally going to use one RGB LED for each note, but after researching and brainstorming, discovered the Adafruit Neopixels range of LED strips. The Neopixels range only need 5V, GND and one input, which meant that I could maximise its colour scheme per note and save space on my copper protoboard. In order to test my Neopixels ring, I had to solder it, but ran a few tests and it looked lovely. An interesting issue I ran into was that when the force sensors were triggering sound and light simultaneously, the sound became very distorted, which could be amended through further research into the specific code for Neopixels, which was extremely complicated. I soldered the rest of my components, except for the force sensitive resistors, which needed to be threaded through the holes in my enclosure before soldering. I then focused on designing my enclosure, using Fusion 360 and later Illustrator, to create a hexagonal flatpack for laser cutting. I practiced laser cutting the enclosure a few times in cardboard to finesse the measurements for the interlocking teeth, the Arduino USB cable and the force sensitive resistors to just poke their heads out. After I had two cardboard prototype enclosures, I laser cut in plywood and sanded off the smokey laser effect. Managing to fit all the wires into the box was challenging, but I glued a thin cardboard hexagon to the inside of my lid, which helped it stay put when shut.
Development
I can imagine creating multiple instruments like this, which tesselate together and all have note arrays of different keys or sequences for live performances. It is an unexpectedly intuitive, explorative way to play music. The scope of the Neopixels range is massive, and I look forward to exploring it further to create more interesting colour patterns for each note. The Neopixels could also be diffused with wax paper or frosted glass to create a nice effect as they are very bright. I would also like to find a work around so that the Neopixels don’t affect the quality of the sound, which will require more complex code.
References
https://learn.adafruit.com/adafruit-neopixel-uberguide/the-magic-of-neopixels
http://www.instructables.com/id/Capacitive-Touch-Arduino-Keyboard-Piano/


