Sonic Scribbler
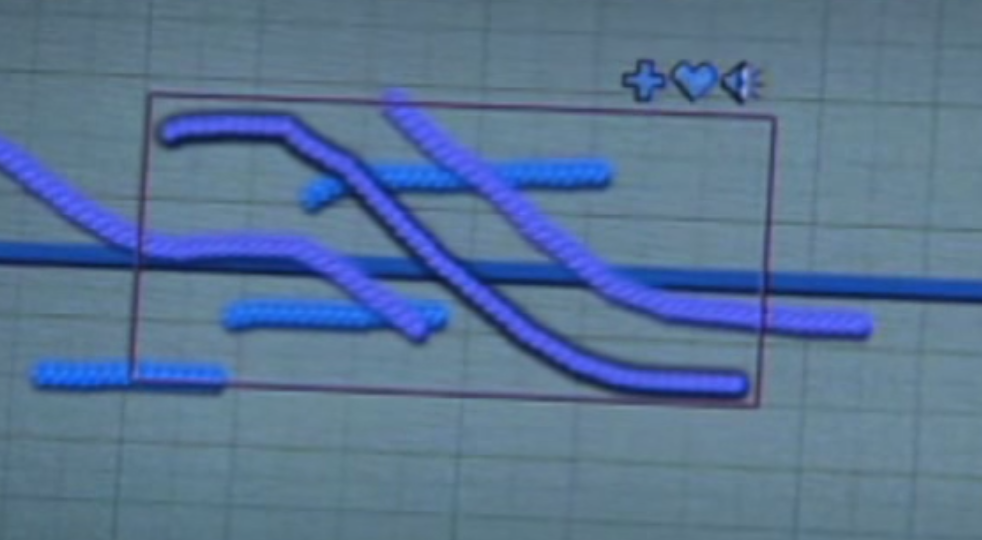
Based on the seminal work of Daphe Oram's Still Point, the Sonic Doodler reflects on Oramics and transforms your scribbles and doodles into blips and beeps! This simple and accessible tool means that anyone can make sounds that responds to their drawings, shapes and marks.
produced by: Edward Ward
Introduction
The Sonic Scribbler is a musical instrument that takes scribbles, doodles and drawings and abstracts them into musical notes, tones and frequencies. Check the video here (incase the above doesnt work!) https://youtu.be/U6Wp-4Qh9e8
Concept and background research
Describe the concept behind your work. What artists other work influenced you? Include links and images to other people's work to make your point.
The Sound Scribbler explores Oramics and sound morphology. I am investigating the links between how drawings look and how we expect those shapes to sound, should they make a noise. Onomatopoeia is the act of how sounds are heard and how they are related to the visual, such as the word ‘bang’ has connotations of a loud sound, but the word ‘such’ could be considered a quiet sound. Using these themes, I have developed a shape to sound program that takes the scribbles and drawings of the user and augments them into sound.
Every time a new contour (shape / drawing) is detected the program uses additive synthesis to either add a new soundwave or modify the frequency of the existing waves being used in the program. The program can interpret the drawings total area, the area and length of each contour, their X and Y positions and circumference as rules for the types of sounds generated.

The main artist precedent and the work is in homage to the ‘Oramics Machine’ by Daphne Oram, whom created a process of drawing shapes and symbols that were interpreted by a machine of her own invention way back in the 1960’s.
I also looked towards the work of Tod Machover who produced ‘Hyperscore’, as project that empowers its users to become composers by interfacing with music by drawing lines and transforming them into musical scores.
Technical
I explored the ofxCv addon, and the contourFinder_basic example as a starting point for the project. The example pointed to contourFinder.size() and drew outlines on screen of the contours it found. I was using an external webcam, a Logitech c920 that I had kicking around - it also suffered from auto focus and white balance adjustment issues, but for the most part, it worked well for the project. That said, it worked fine for the pop up - but when it came to photographing for a few good shots, the space was lit with LED lights, which had an effect of the frame rate of the camera and would distort the contour / thresholds - meaning a more fractured contour / sound generation. The sound was generated using ofxMaxim, again using some of the examples and lab session example lines of code. I played around to find some tones that at a basic level resembled the shapes that were being drawn on screen, specifically sounds that didn't go to super high frequencies so to become shrill or jarring.
Despite the relative simplicity of my submitted code - I spent an unnecessary amount of time getting my head around the class and retrieving any useful data. I found the example files and documentation lacking in any real introduction to using the addon. I sought help and was pointed to the contourFinder.size() function - a eureka moment - not sure how I was able to not see that in the documentation. Anyway, I began exploring and I was able to access the contours, and a range of values from this finding - length, area, position, centroid etc. from here I was able to begin getting those values and plugging them into maxim, and thinking of interesting ways to apply them to some sound generation.
As part of the help I received, I was introduced to the immediate window in Visual Studio, after watching a few videos, I was a debug pro! Debugging skills certainly went up a level with this project, using break points and accessing variables using the immediate window helped again to see the values of the length, position, area etc and how I can utilise them for my audio output.

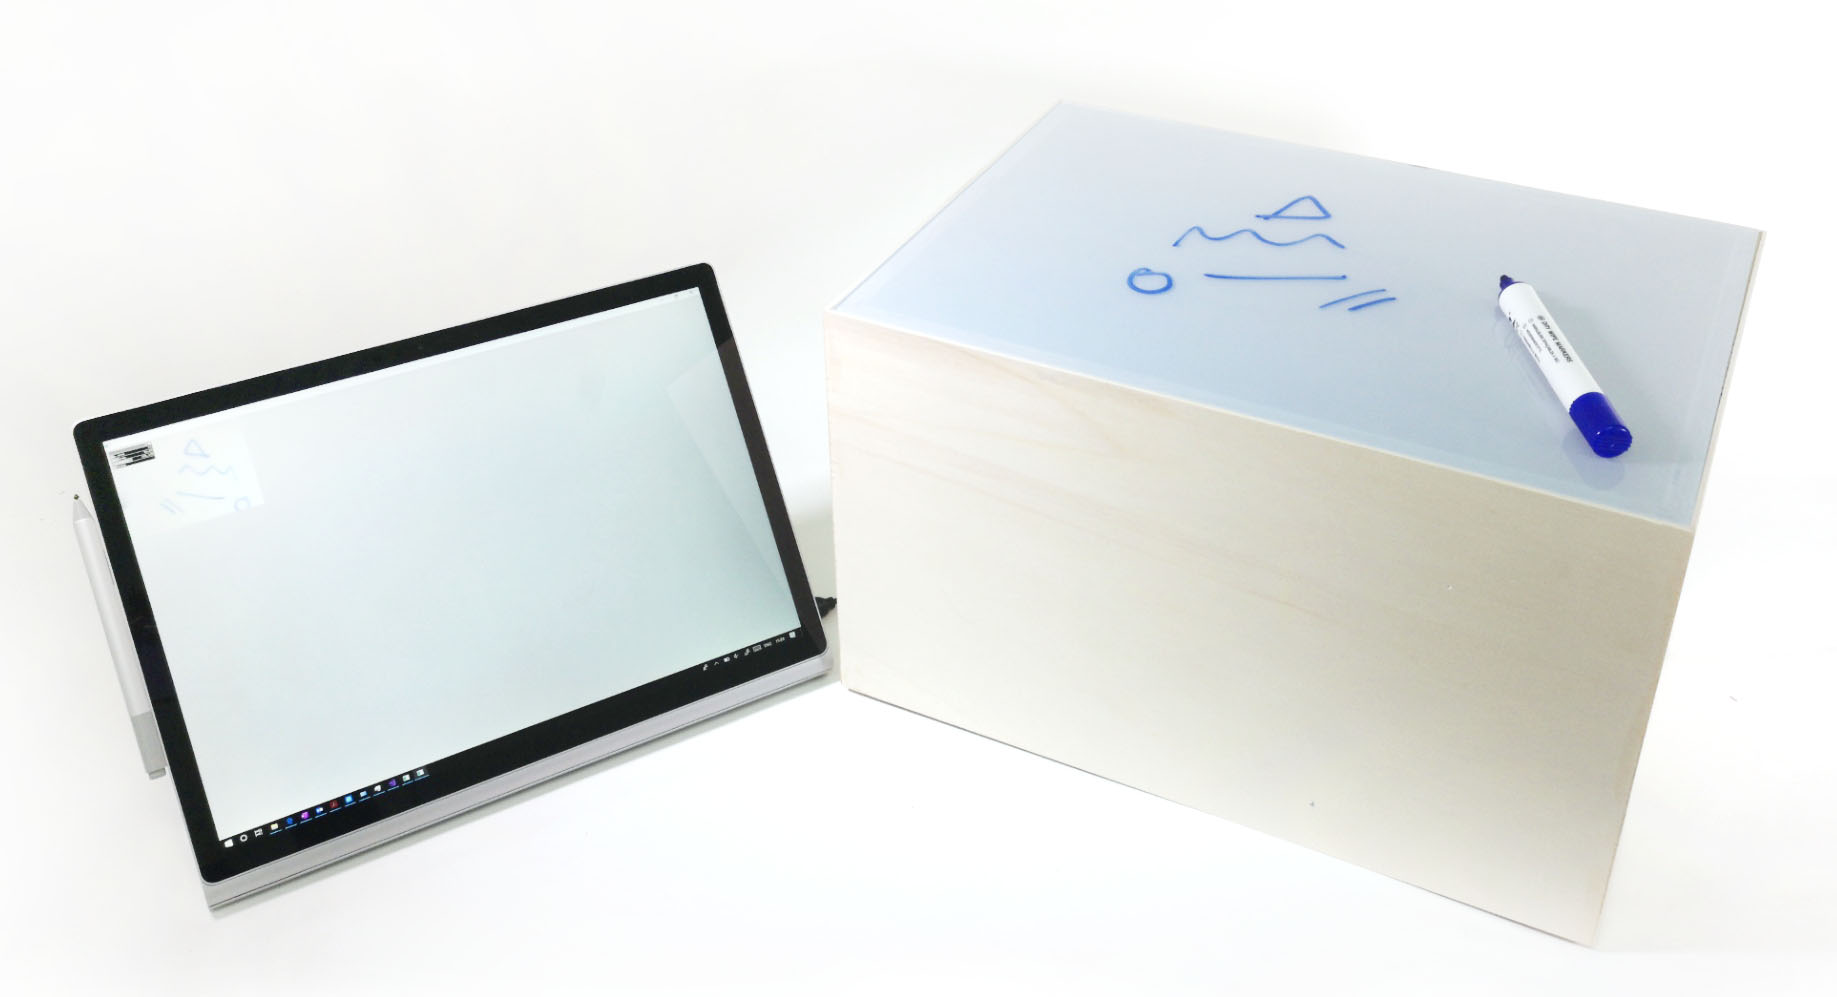
Once I got values, I was able to start testing - using a scrap of paper I doodled and watched the contours adapt and the values change - promising! I really liked the drawings that were being created as part of the process once I switched to A3 paper - something again that I could develop is some kind of archiving of the artwork - this however is in contrast to the original concept, but again, it could be my development of it. As part of the prototyping, I jerry rigged a peice of acrylic over the camera - and started to draw onto that with a white board marker; low and behold I got similar results with this as I did the overhead camera setup. I developed this into a more durable enclosure and spent a day in the workshop cutting and building the enclosure. Once this was complete, I was back at the PC to make order of the data collected. better late than never - had I not developed the pi or got the contourFinder to work - perhaps I would have had time to integrate the above developments for the project.
Future development
I think there is a lot that could be done, least not some of the stuff I didn’t get around to implemented for the submission.
The sounds could be developed further. With Maxim, there could have been more time spent understanding the fundamentals of sound design and how-to best layer the tones / frequencies to map to my doodles. Furthering the conversation about onomatopoeia, I could have certain shapes produce a certain type of sounds, so, soft, bubbly shapes produce sounds that are low, or pleasing to the ear in some way, whereas jagged, angles shapes might produce angry / aggressing sounds. This I think could be achieved using a bit of machine learning, not only the technical – I think from the people using the project, it was somewhat assumed this would functionality would be implemented. Colour tracing was explored a little, whereby initial ideas would have been to have a red pen produce similar sounds but at different octaves or frequencies, or a green pen could add a different type of modulation, or a phaser wave for example. This would provide more scope to the instrument and provide the user more control over the device. Reflecting on the interface and physicality of the project, initial thoughts are to develop the way people engage with the piece. Drawing sounds is cool, but could there be a way to store the sound? Or create a track, or loop a sound? This could be implemented with machine learning / shape recognition by drawing certain symbols on the drawing…
Self-evaluation
I created a schedule for the two projects I had to complete - this worked well, I was able to juggle both units, family and work commitments - to a degree! That said, the essay went well, I had to do some reading so I thought I Would tackle that first, then write the first draft, and then follow up with edits over teh remaining few weeks. During those times for edits, I started on this project. I initially investigate the Raspberry Pi - I got it working, installed OF, the camera, explored the examples and got the demo files running. I was able to log in remotely via VNC viewer - running Linux for the first time was good, got to learn a few things - unfortunately however, I found the Pi a little slow and when making edits to my program, it would take a long time to compile these changes. I decided (after 3 days) to return to the PC to develop and get the project started.
After all that, I began to explore the addon example files. It took a couple of days to get the data from the built-in functions, I was doubting my ability both as a programmer and the deliverables for the unit! It took about 2 weeks to get to where I got a skeleton of a project and was able to begin running some tests. I think if I hadn't been faffing about with the pi, I could have been in a better place to develop the project to a higher level, instead, I was just able to deliver a running program.
Once the concept was working, I needed a stable rig to position the camera and a surface to draw on - so that I can monitor the results and design functionality into the program. This was a relatively quick process, from test, design and build in one day - I'll be producing something physical for my next project! With this rig, I got the minimum viable project sorted I think - I began to explore the values from the contour finder and plug them into the frequency generators. In retrospect, I am pleased with the outcome of the enclosure, I feel that it adds to the project in both its presentation but also its aims of being accessible to a non tech audience.
Towards the end of the project IW as despairing, classic, at times I wondered what I was doing, trying to be a programmer! I thought the project was hot garbage - but once the thing compiles and a contour was found, or a tone was generated, I got motivated to tackle the next error! I'm not sure if what I submitted demonstrates 20 classes of open frameworks, but then maybe I need to spend 10,000 hours on it before I become fully proficient - so hook me up in a couple of years to see how I’m getting on!!
References
Daphne Oram. (2019). Still Point at the BBC Proms 2016. [online] Available at: http://daphneoram.org/ [Accessed 19 May 2019].
GitHub. (2019). falcon4ever/ofxMaxim. [online] Available at: https://github.com/falcon4ever/ofxMaxim [Accessed 19 May 2019].
GitHub. (2019). kylemcdonald/ofxCv. [online] Available at: https://github.com/kylemcdonald/ofxCv [Accessed 19 May 2019].
Hyperscore.wordpress.com. (2019). Hyperscore. [online] Available at: https://hyperscore.wordpress.com/hyperscore/ [Accessed 19 May 2019].
YouTube. (2019). Daphne Oram's 1960's Optical Synthesizer Oramics Machine Electronic Music Pioneer YouTube. [online] Available at: https://www.youtube.com/watch?v=mJ08diPUv6A&t=385s [Accessed 19 May 2019].
YouTube. (2019). Daphne Oram's 1960's Optical Synthesizer Oramics Machine Electronic Music Pioneer YouTube. [online] Available at: https://www.youtube.com/watch?v=mJ08diPUv6A&t=385s [Accessed 19 May 2019].
YouTube. (2019). New reactable LIVE! S6. [online] Available at: https://www.youtube.com/watch?v=nDEoTVz-QCg [Accessed 19 May 2019].


