Autoreong
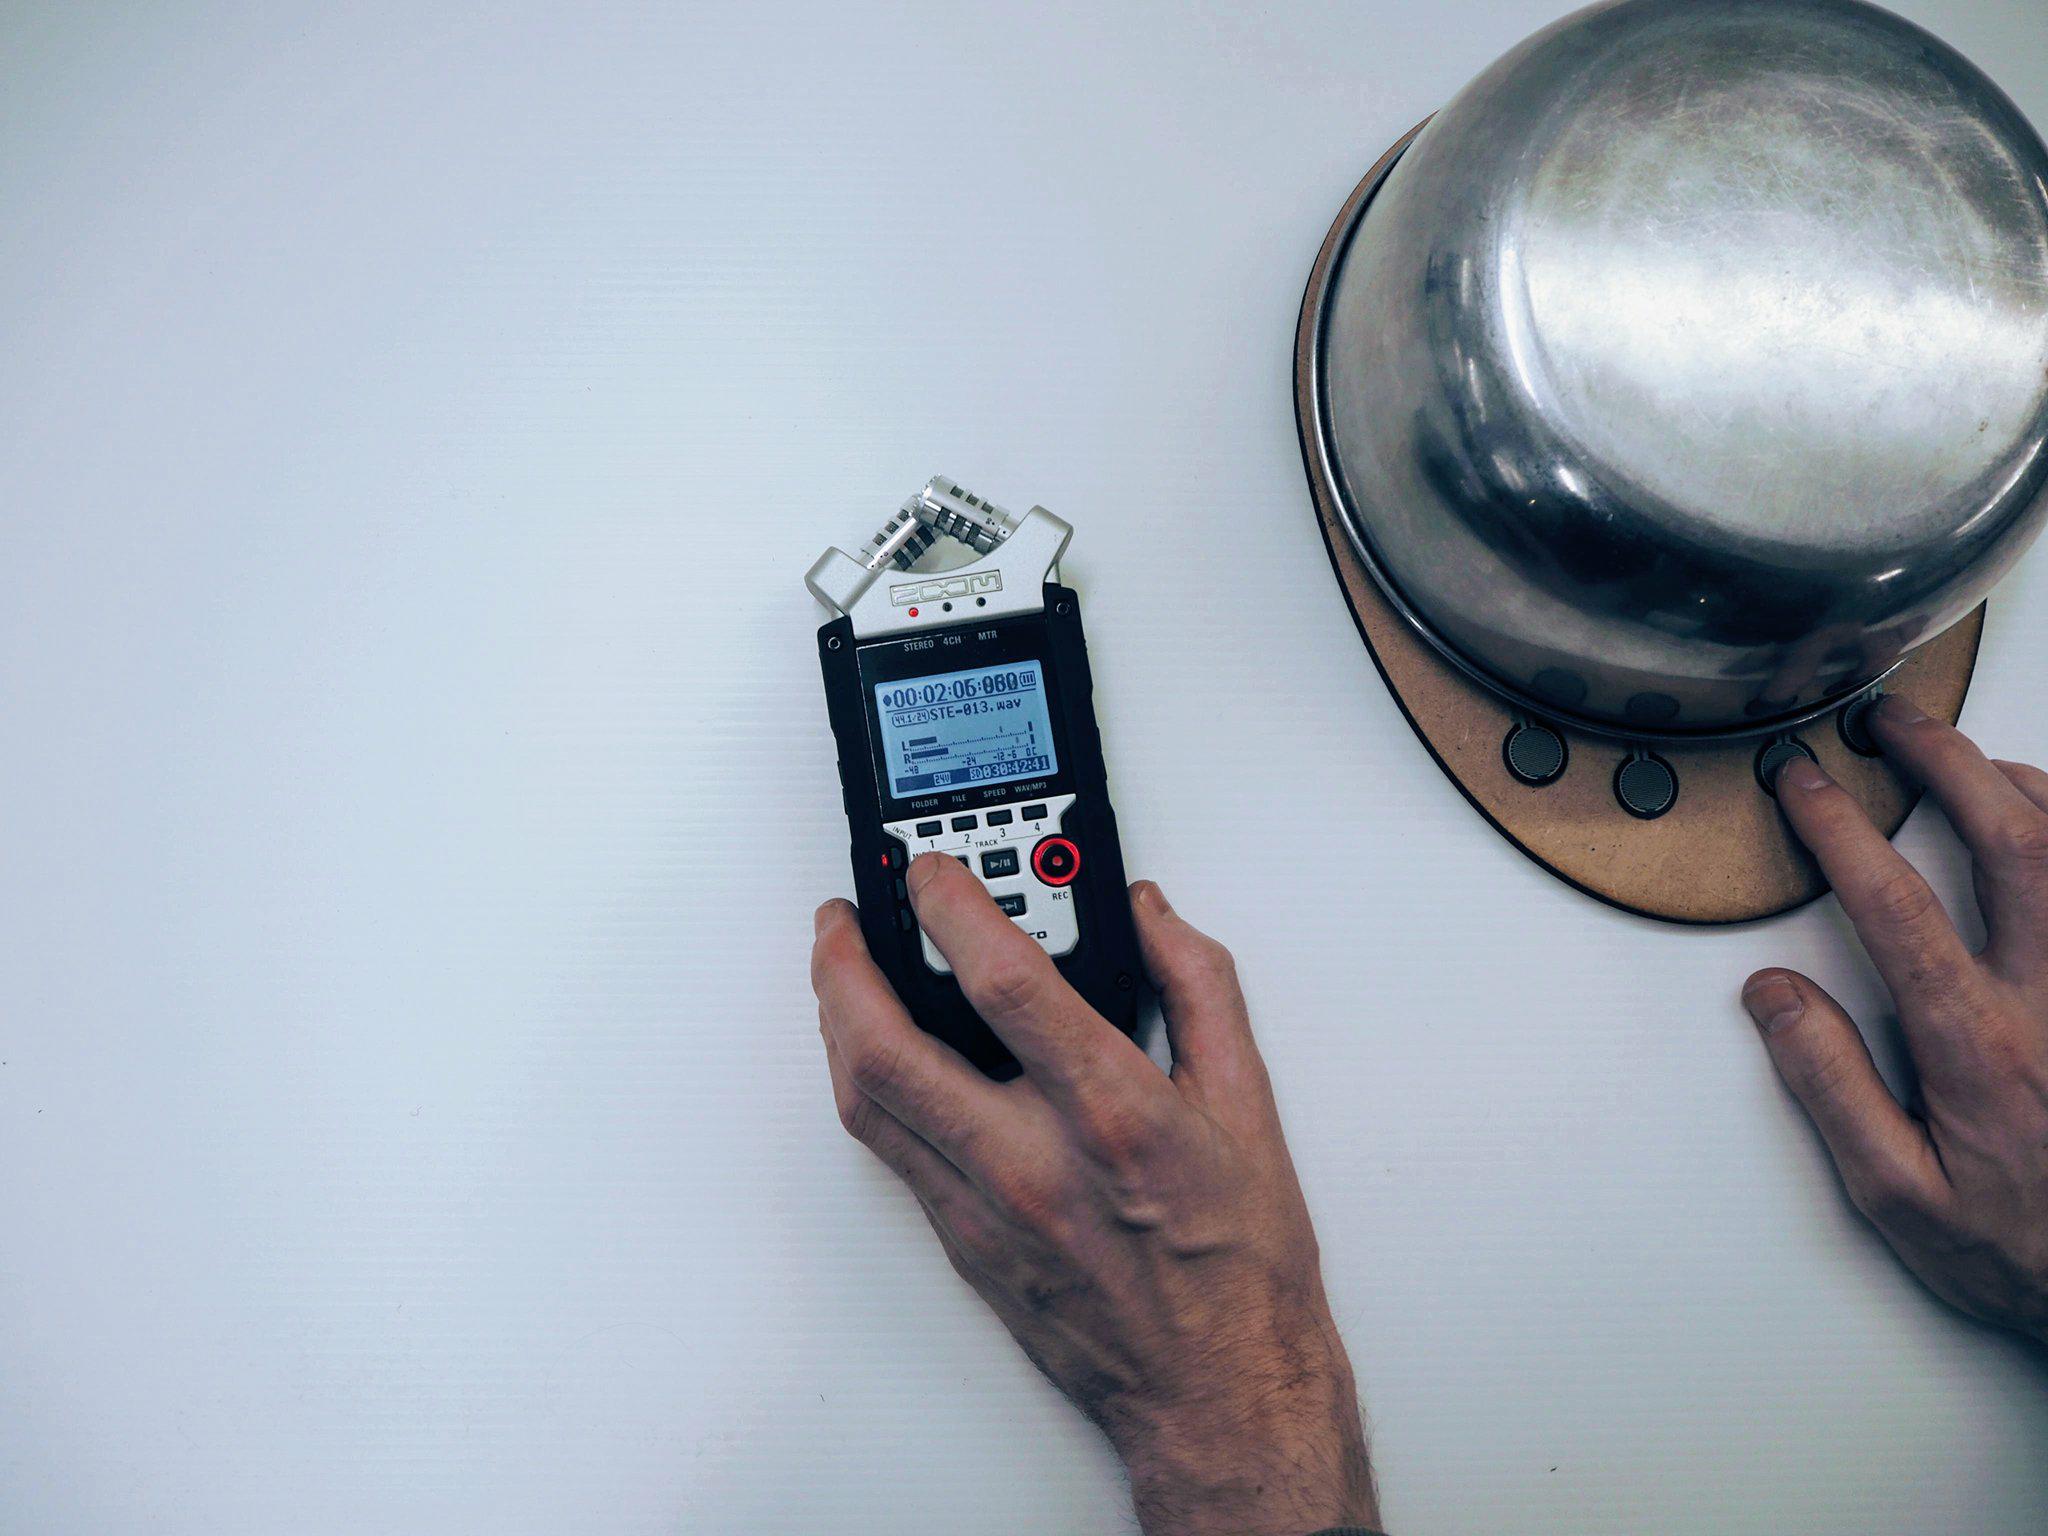
The autoreong is an experimental percussion instrument inspired by traditional Indonesian music. By using finger pressure to control the tempo of synchronised patterns, a performer is able to shape overall rhythmic structure. Removing the need for fine-grained control of individual sounds, the autoreong opens new possibilities for exploratory musical performance.
produced by: Sam Ludford
Concept
In Balinese gamelan music a 'reong' refers to an instrument formed by a long row of metal gongs. Typically played by two or four musicians, each uses two mallets to play simple rhythms which combine into a hypnotic and multilayered sound texture [1, 2].
The autoreong gives a single performer access to this expressivity. Four pressure sensors control the rate at which a metal chime is struck by four independent yet synchronised mallets, removing both the performer's responsibility for time keeping and a limitation inherent to traditional percussion playing which constrains one action to correspond to one sound.
Free from these limitations a performer is able to approach rhythmic music from the top down, using the distribution of weight in their fingers to control the relationships between patterns rather than the patterns themselves. No longer needing to take fine-grained control of individual sounds, nor to make decisions about a rhythm in advance of its sounding, the performer is provided with new possibilities for holistic and exploratory rhythm generation.
Circuit
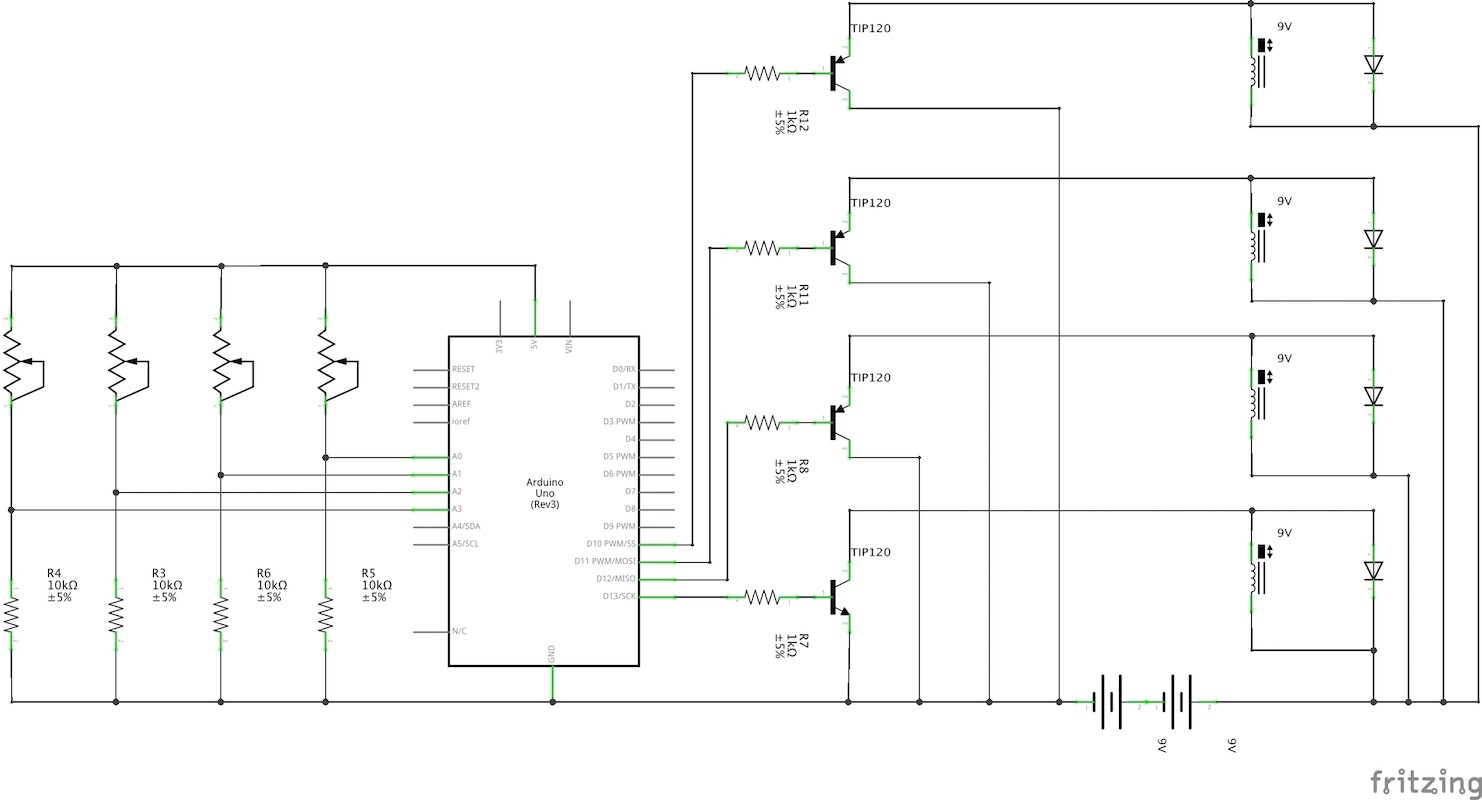
Force sensitive resistors (FSR) were used with an analog voltage reading method to retrieve finger pressure input from the performer [3]. Initially capacitive sensors had been considered, but were ruled out on account of their unpredictability.
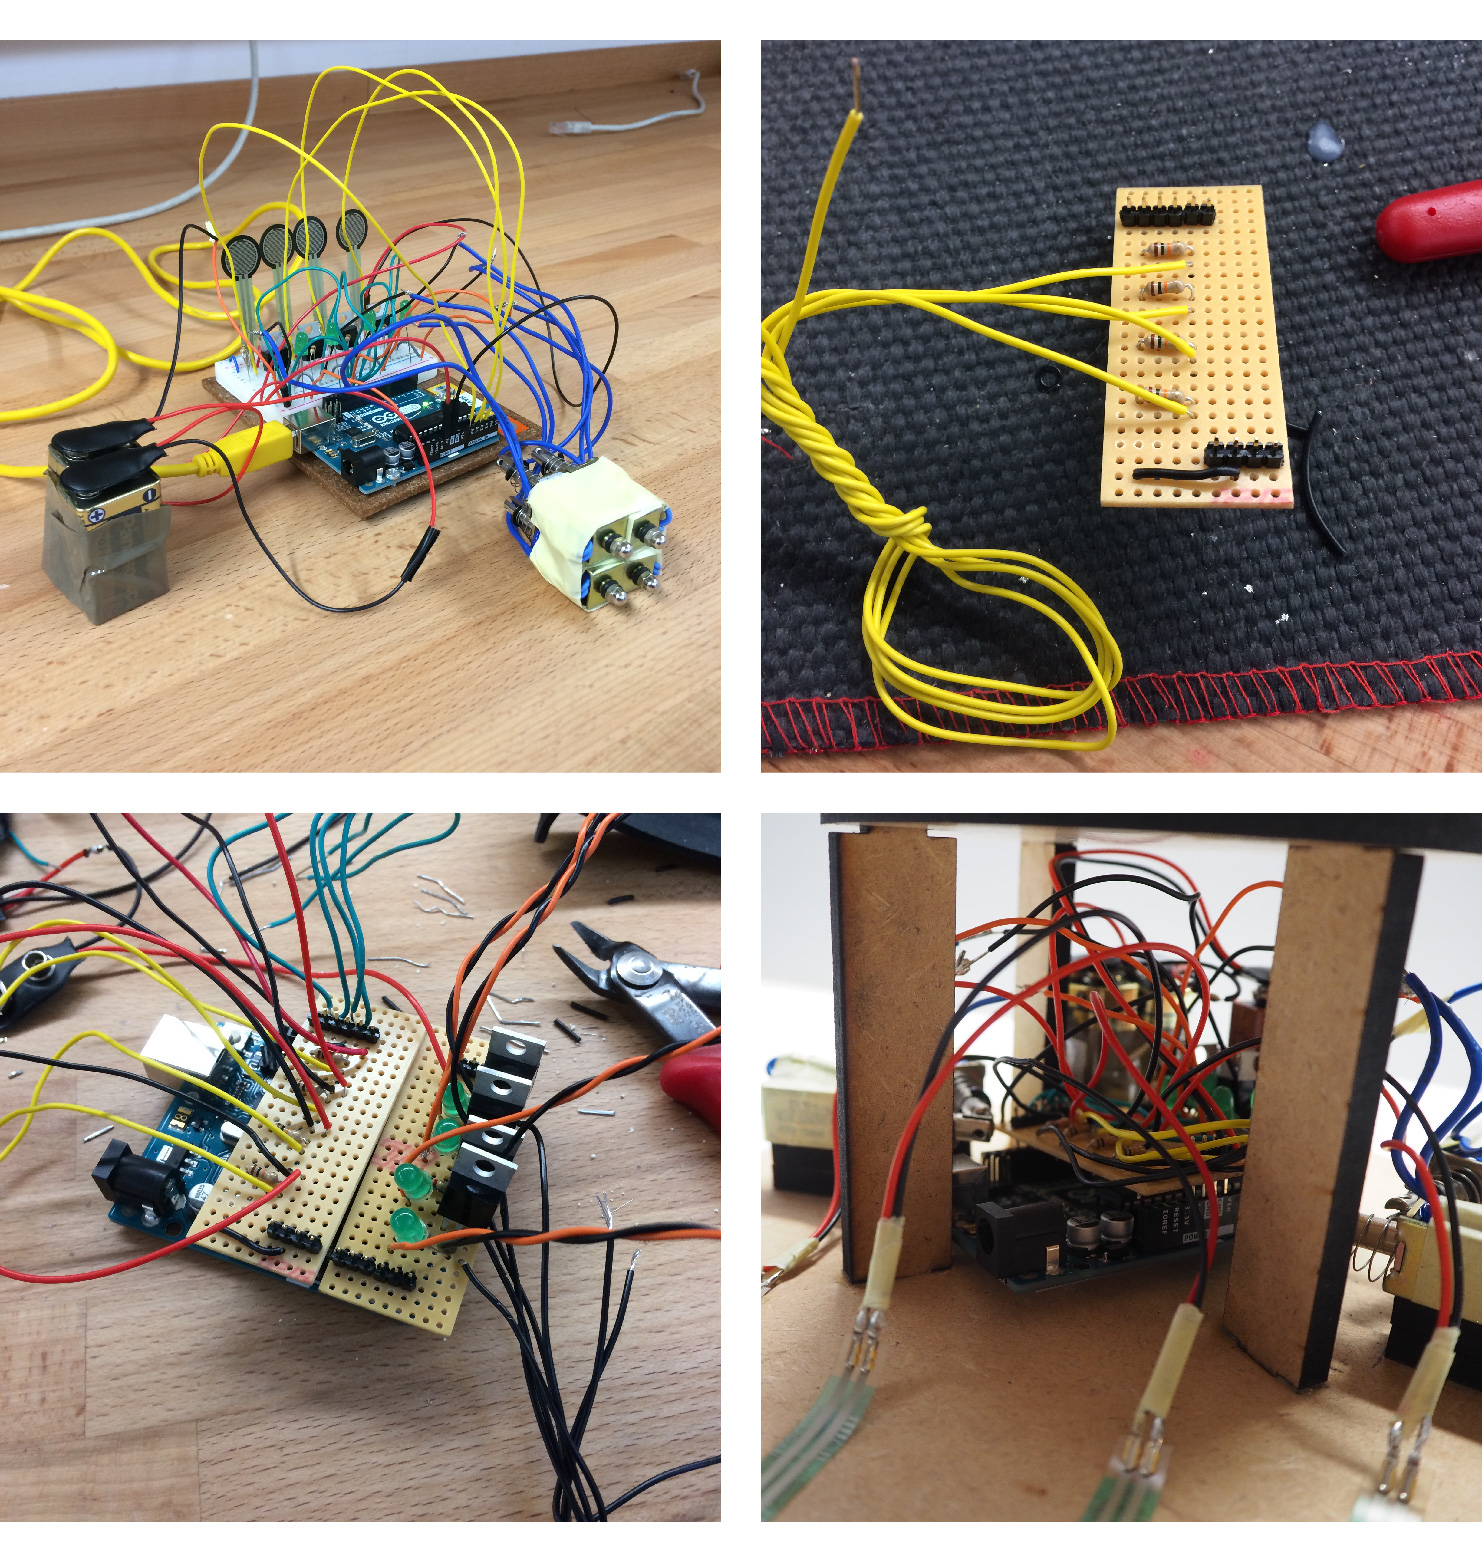
9V push solenoids were used for the 'mallets', with a percussive action mimicked by quick succession of on and off signals (pushing the solenoid to the end of its throw, then allowing the spring to pull it back a short time later). Requiring more than the 5V Arduino is capable of providing, separate 9V batteries were used in combination with transistors to supply the solenoids with sufficient power. LEDs were used as bypass diodes to protect the circuit from current dissipated from the solenoids when they are turned off [4,5,6].
An Arduino Uno running a simple metronomic system uses the pressure on a FSR to control the rate at which percussive commands were sent to the corresponding solenoids, as well as keeping everything in time. Various methods of achieving this were considered [7,8,9] before a solution using the Timer library [10] was settled on.
Source code: https://github.com/samludford/autoreong
Design
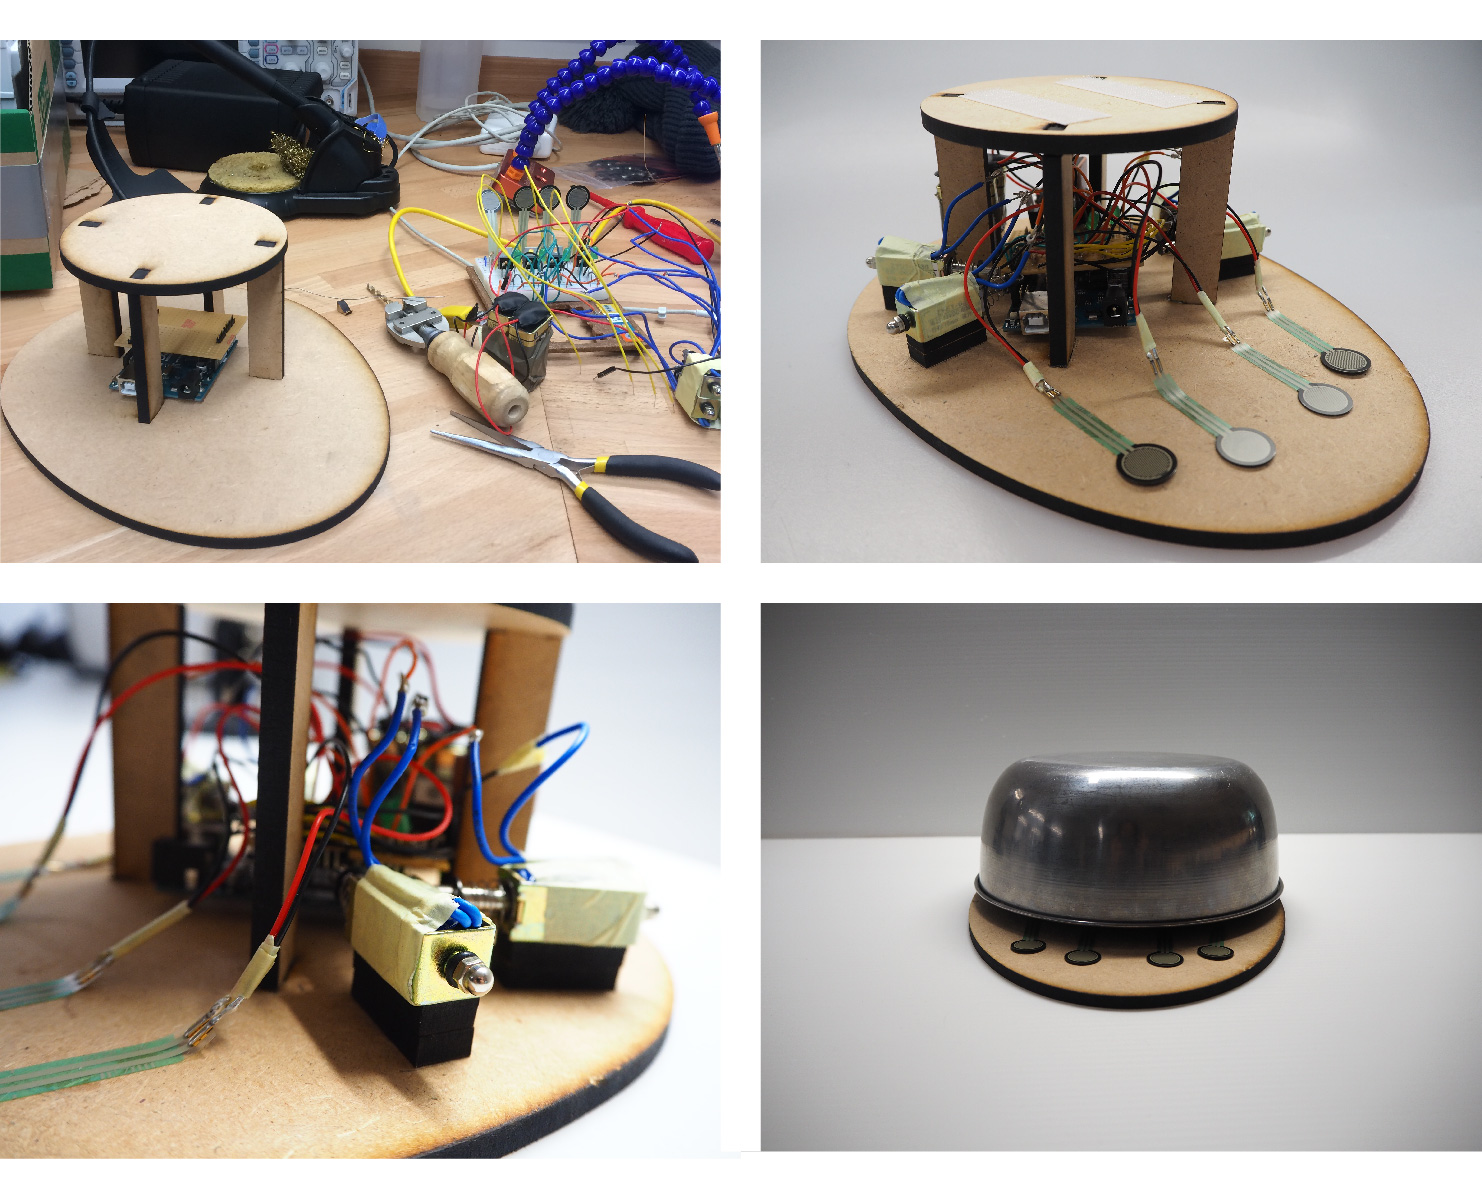
An aluminium bowl with a resonant tone was used as a chime to be struck by the solenoids. The design process was led by the shape and sonic properties of the bowl. To hide it from the performer the circuit was hidden inside the overturned bowl, with the solenoids striking it on the inside. It needed to be suspended off the ground to allow it to resonate when struck. Placing the pressure sensors on the surface of the bowl to provide haptic feedback to the performer was considered, but the idea was discarded after experimentation revealed that it created an undesirable muting of the sound. Instead the sensors were attached to a base which protruded out from underneath the bowl.
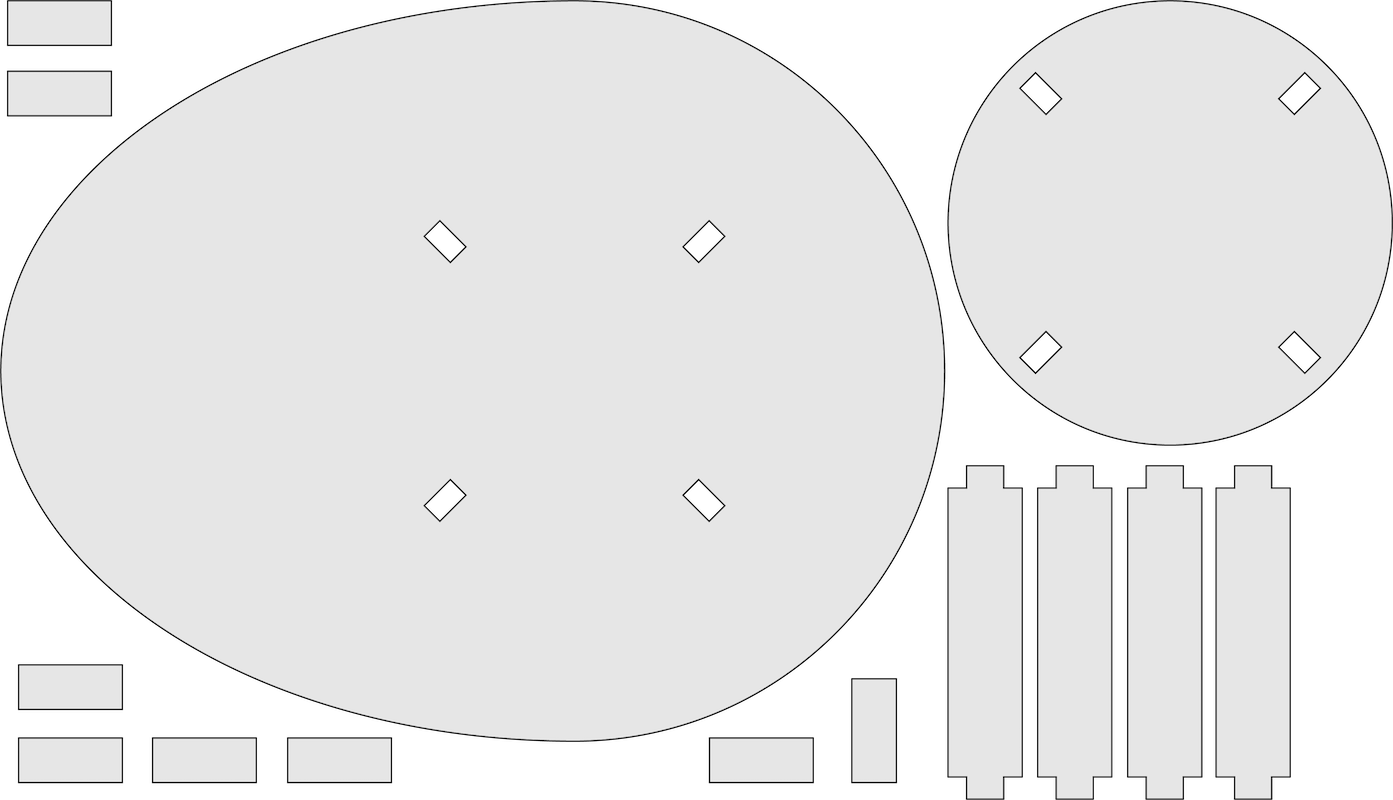
The egg-shape of the base was designed to echo and elongate the circular shape of the bowl, in keeping with the organic feel of the instrument. Struts hold a platform which suspends the bowl, angled outwards at 45 degrees to provide a stable structure. The bowl is held in place with velcro, allowing easy access to the circuit inside. MDF was chosen as the material to strike a balance between paying lip service to the wood and metal of traditional gamelan instruments and the need to create a cheap, repeatable prototype.
References
- Michael Tenzer - Gamelan Gong Kebar : The Art of Twentieth Century Balinese Music
- Example of a reong being played: https://www.youtube.com/watch?v=qs3I3MohVTc
- https://learn.adafruit.com/force-sensitive-resistor-fsr/using-an-fsr
- https://playground.arduino.cc/Learning/SolenoidTutorial
- http://www.instructables.com/id/Controlling-solenoids-with-arduino/
- https://core-electronics.com.au/tutorials/solenoid-control-with-arduino.html
- http://harteware.blogspot.co.uk/2010/11/protothread-powerfull-library.html
- https://playground.arduino.cc/Code/AvoidDelay
- http://www.uchobby.com/index.php/2007/11/24/arduino-interrupts/
- https://github.com/JChristensen/Timer


