A SAD(der) Light
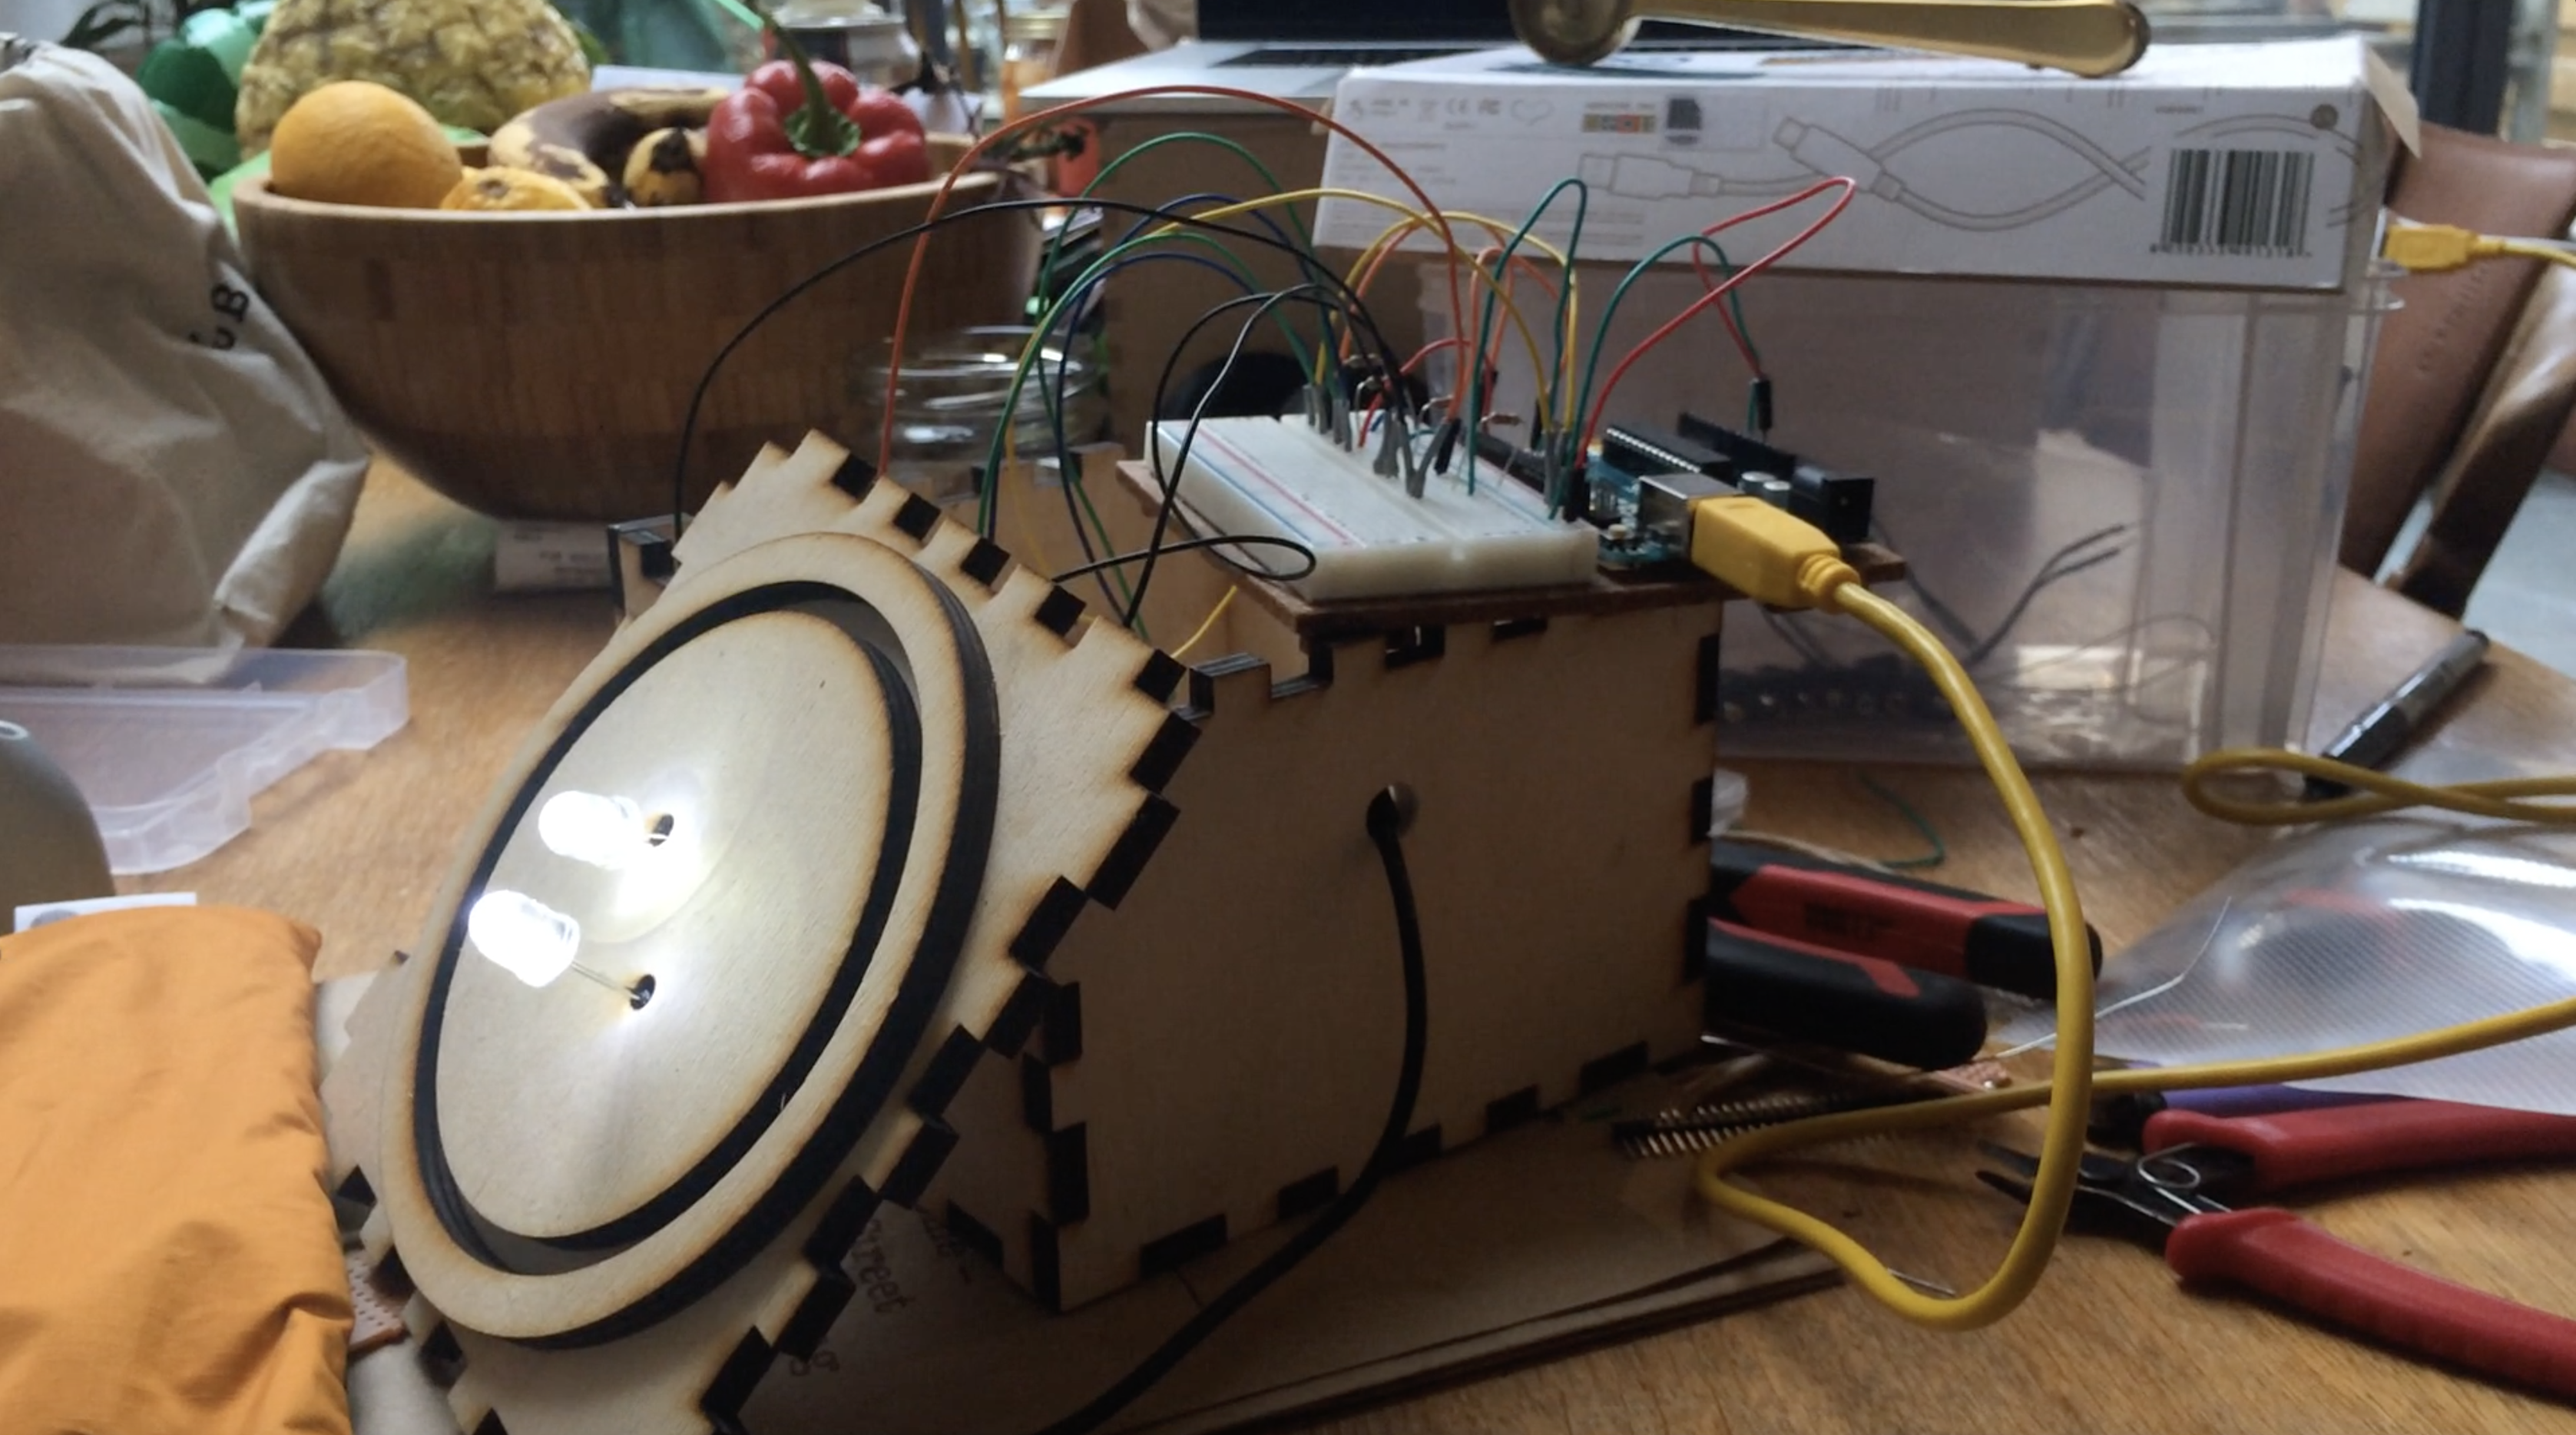
A simple and easy to use SAD light for the days when its a little too grey. Based on the idea of simulating sunshine in a spaceship looking vessel.
produced by: Olivia Molitor
THE INNER WORKINGS:
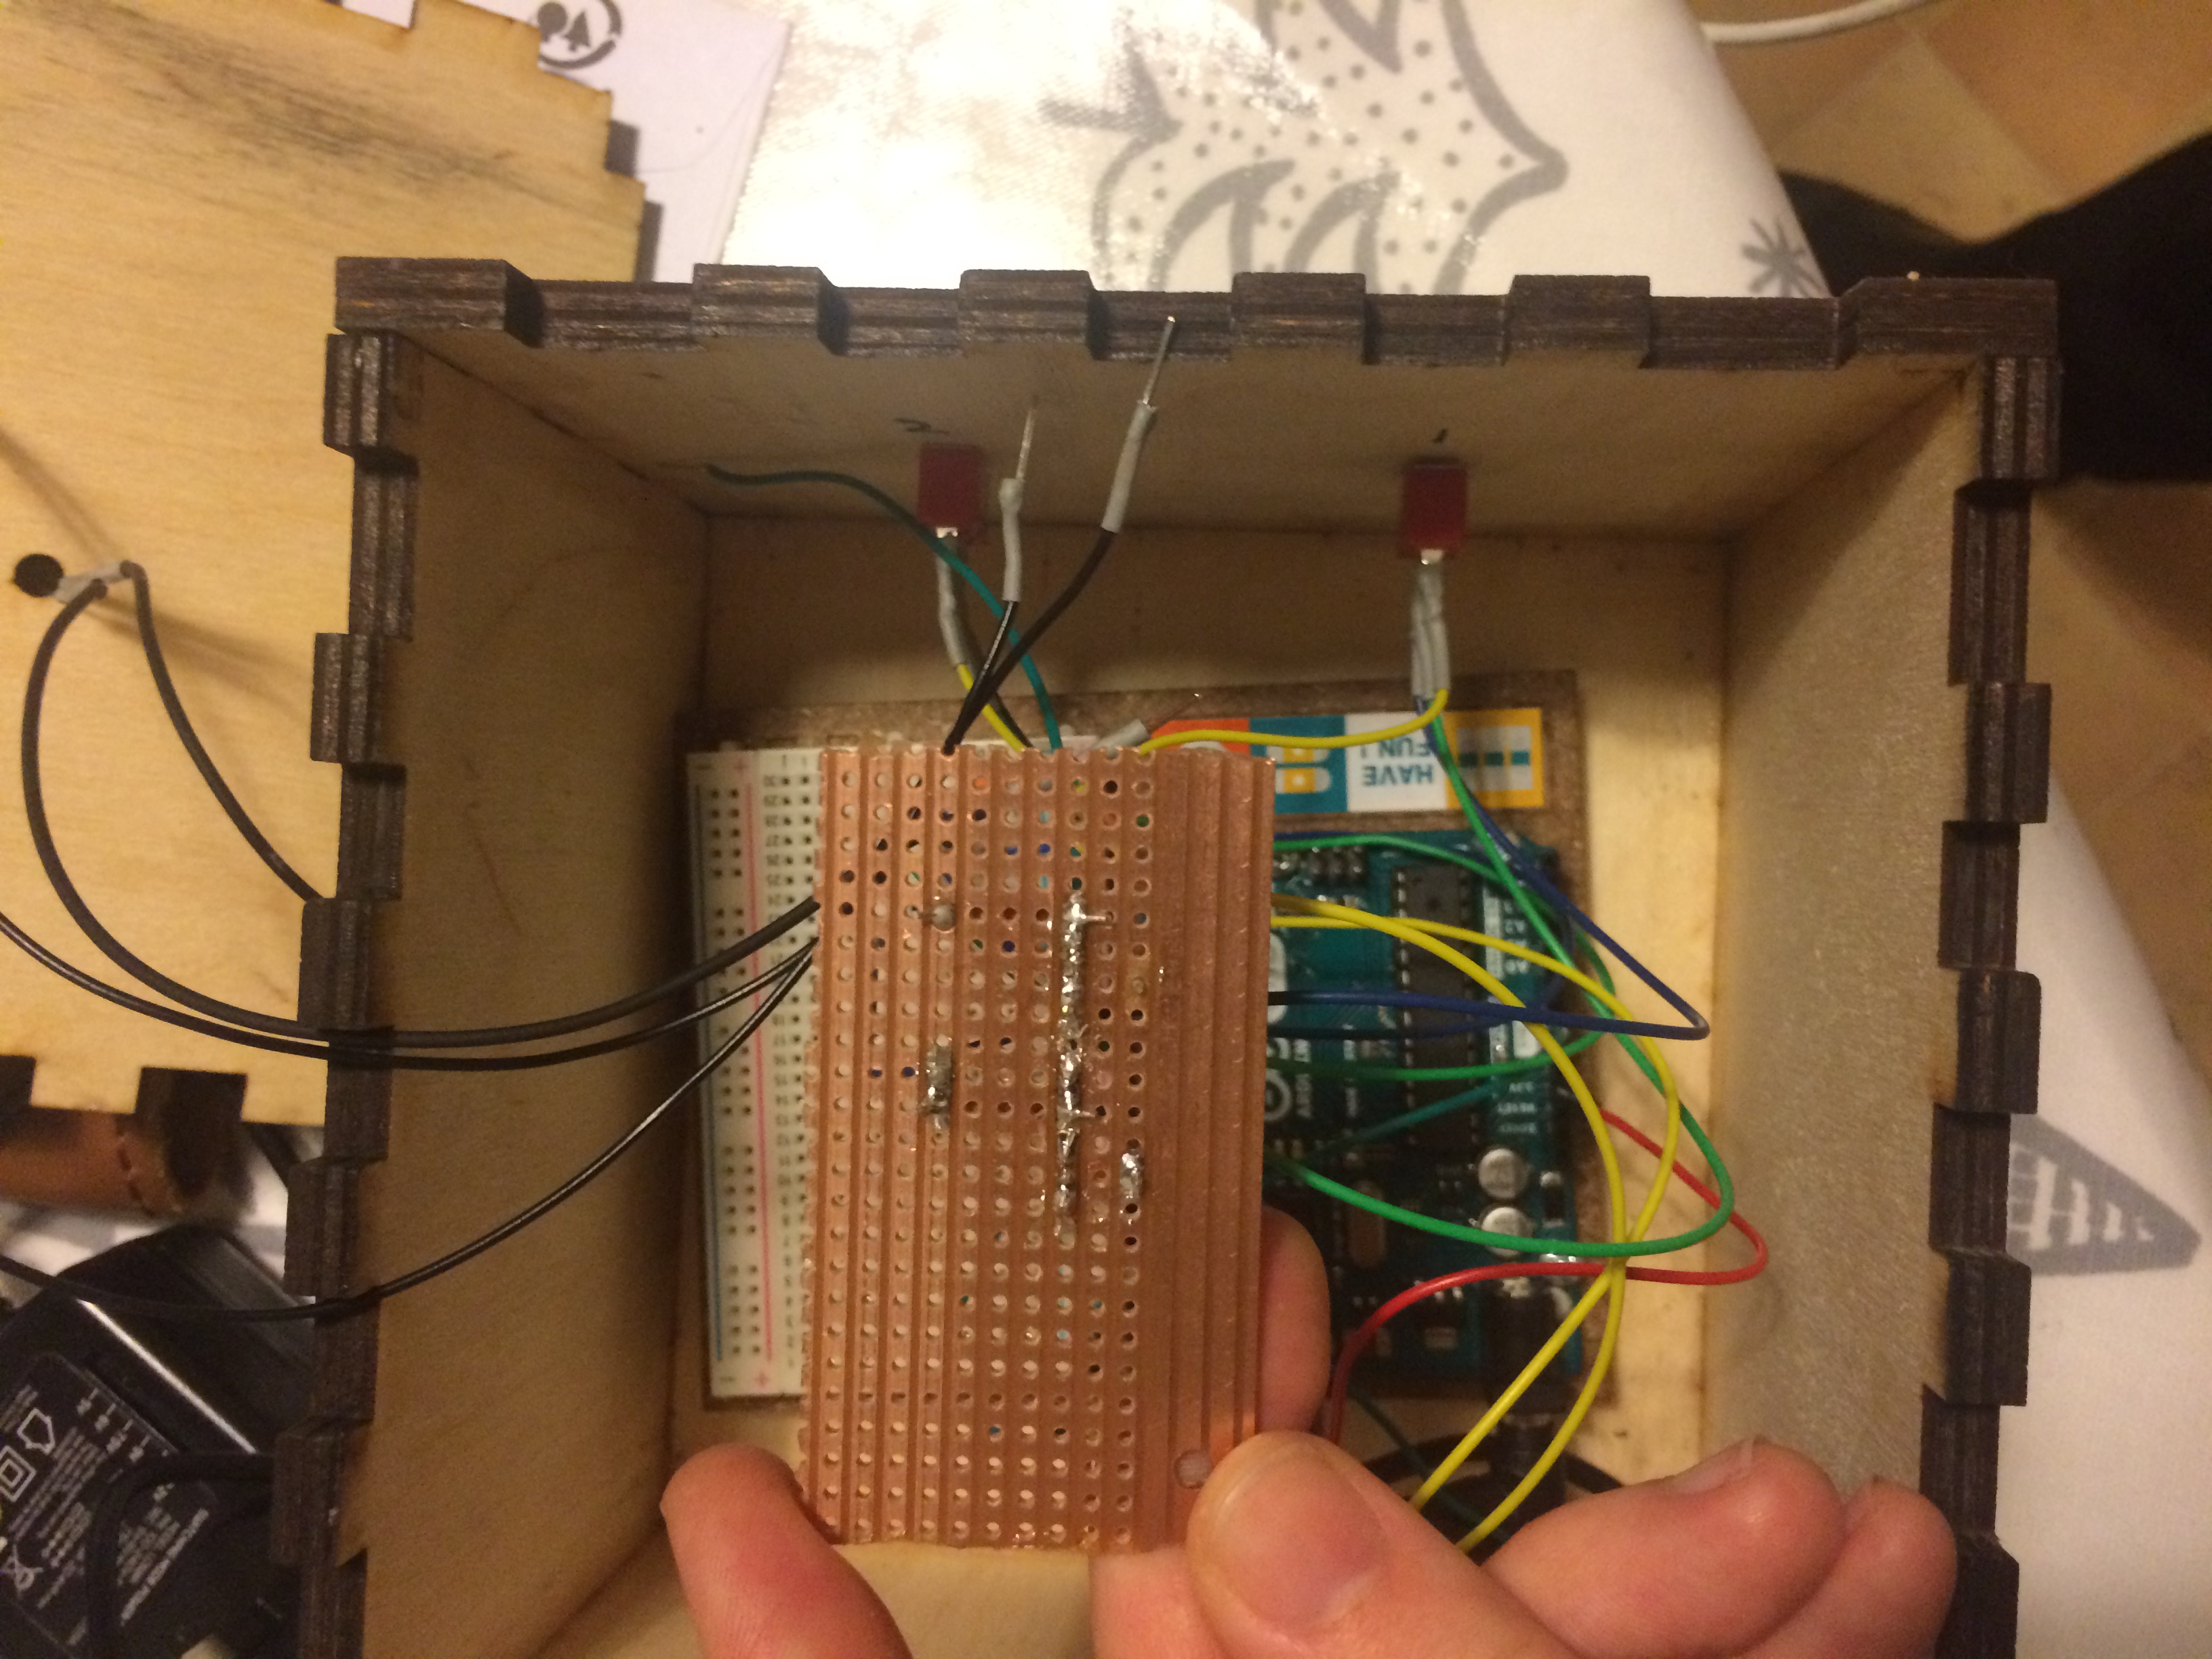
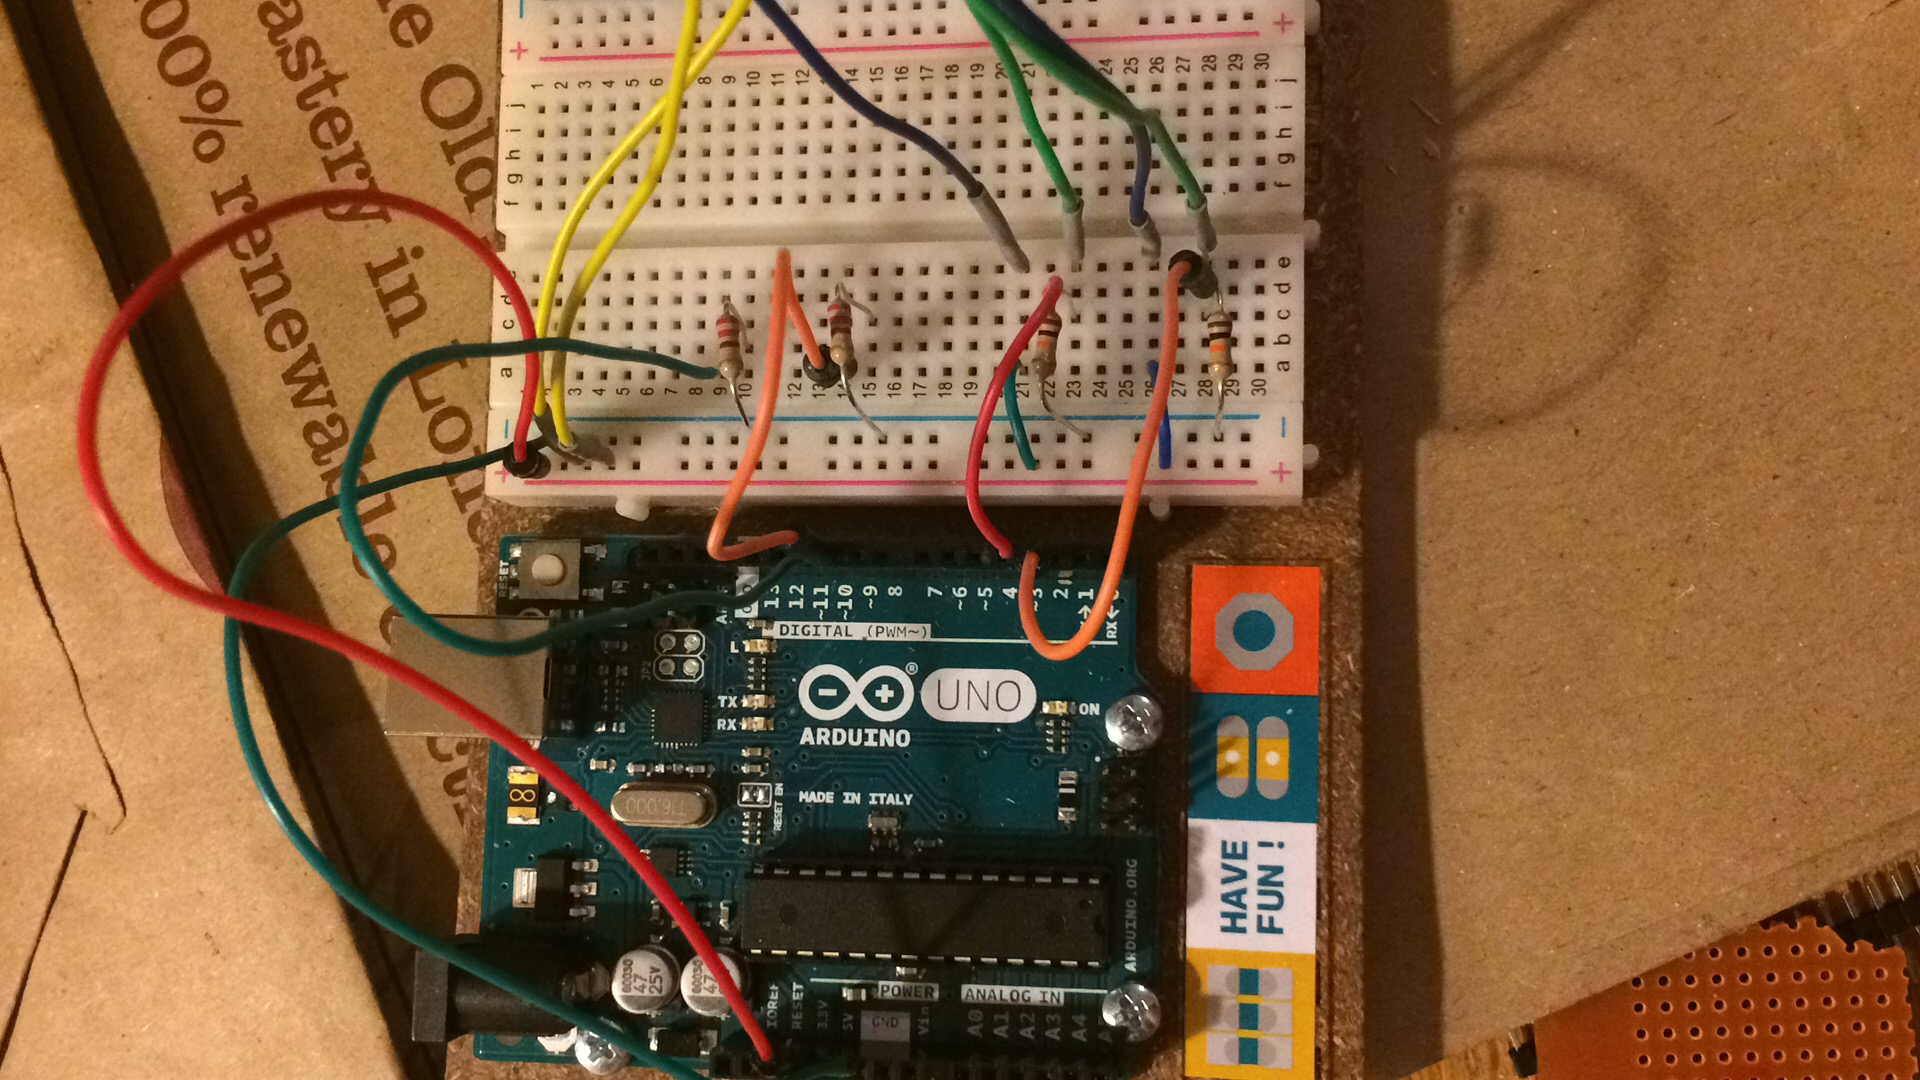
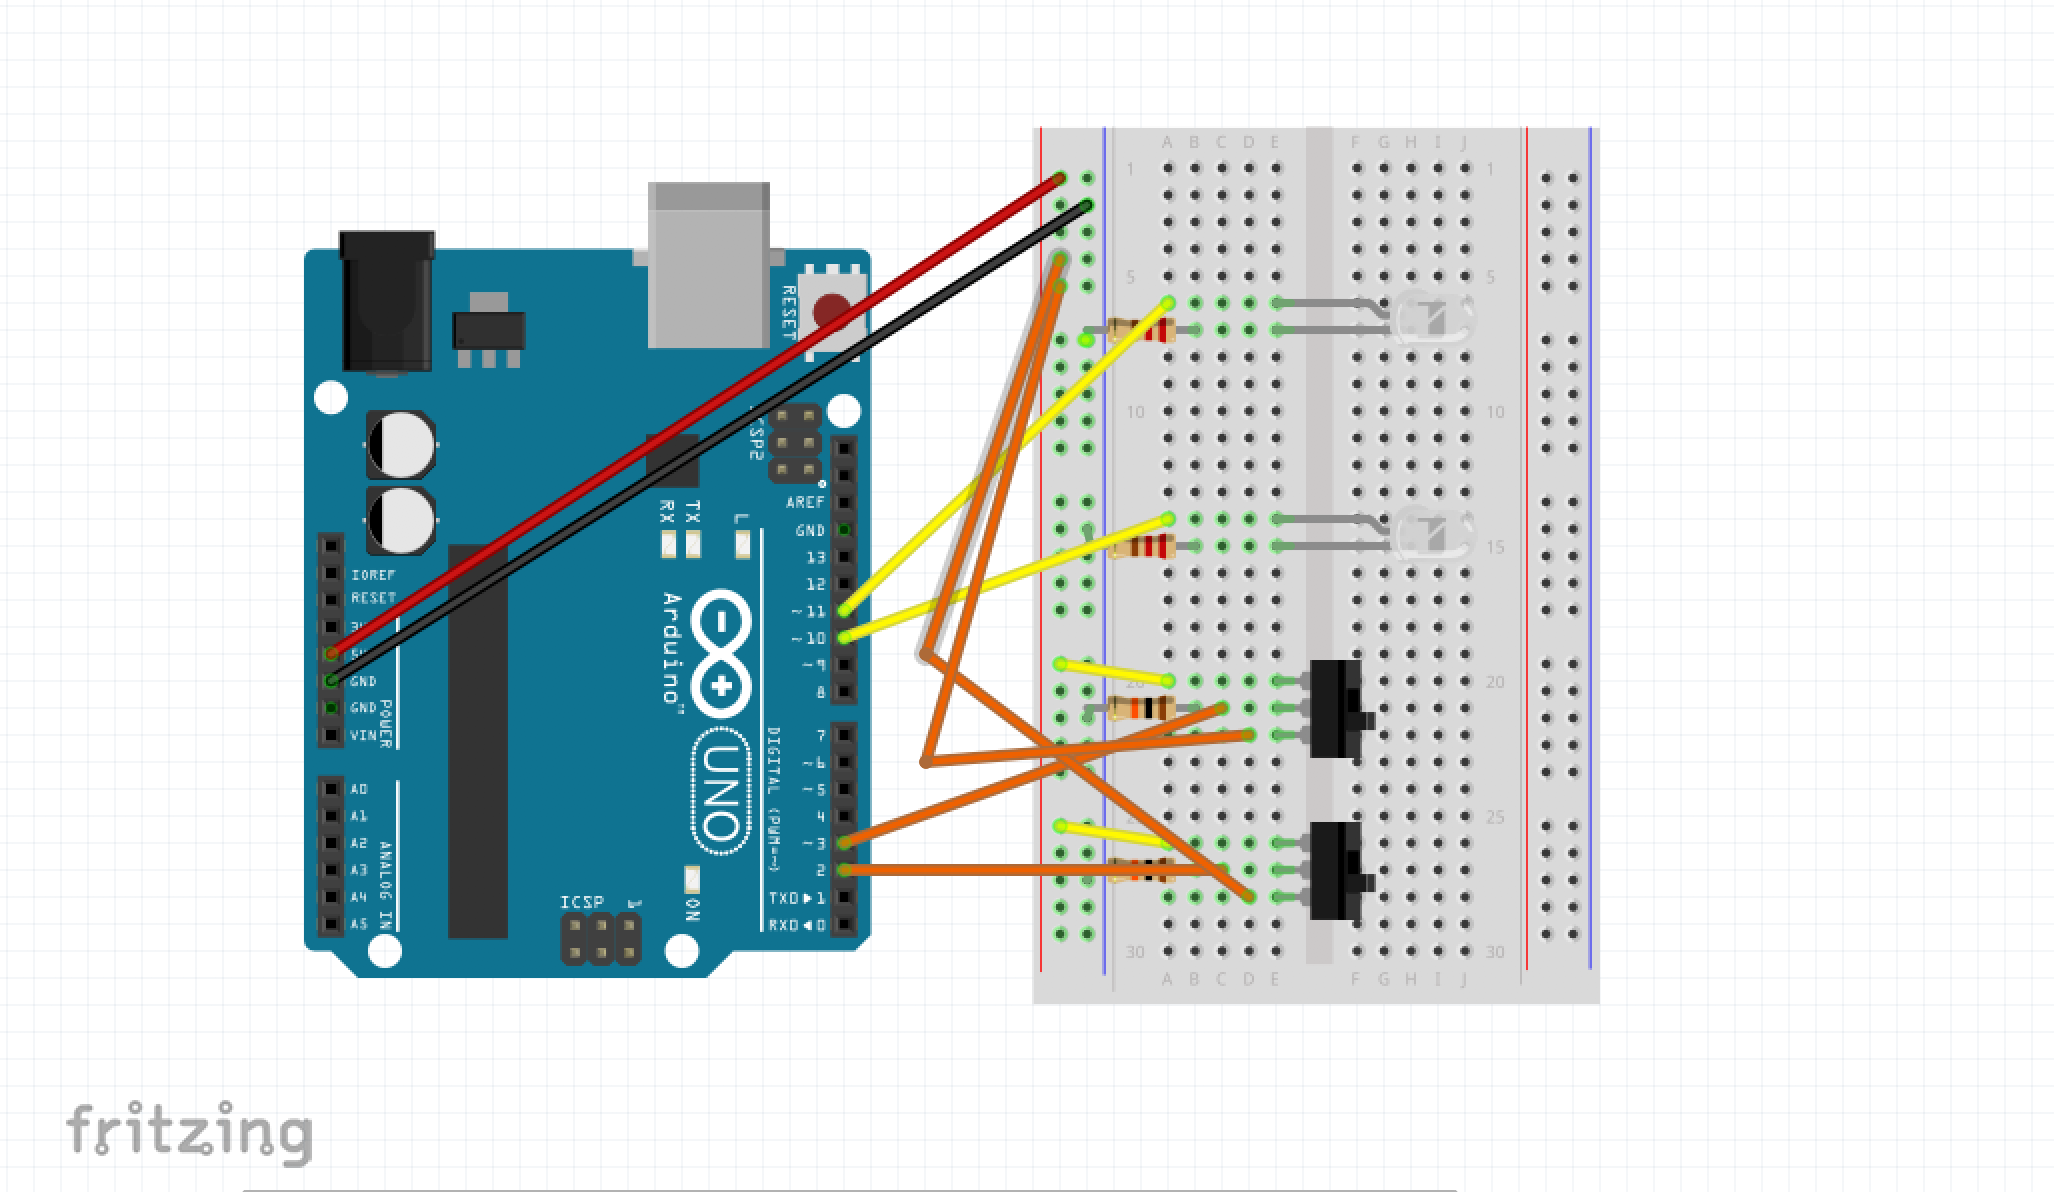
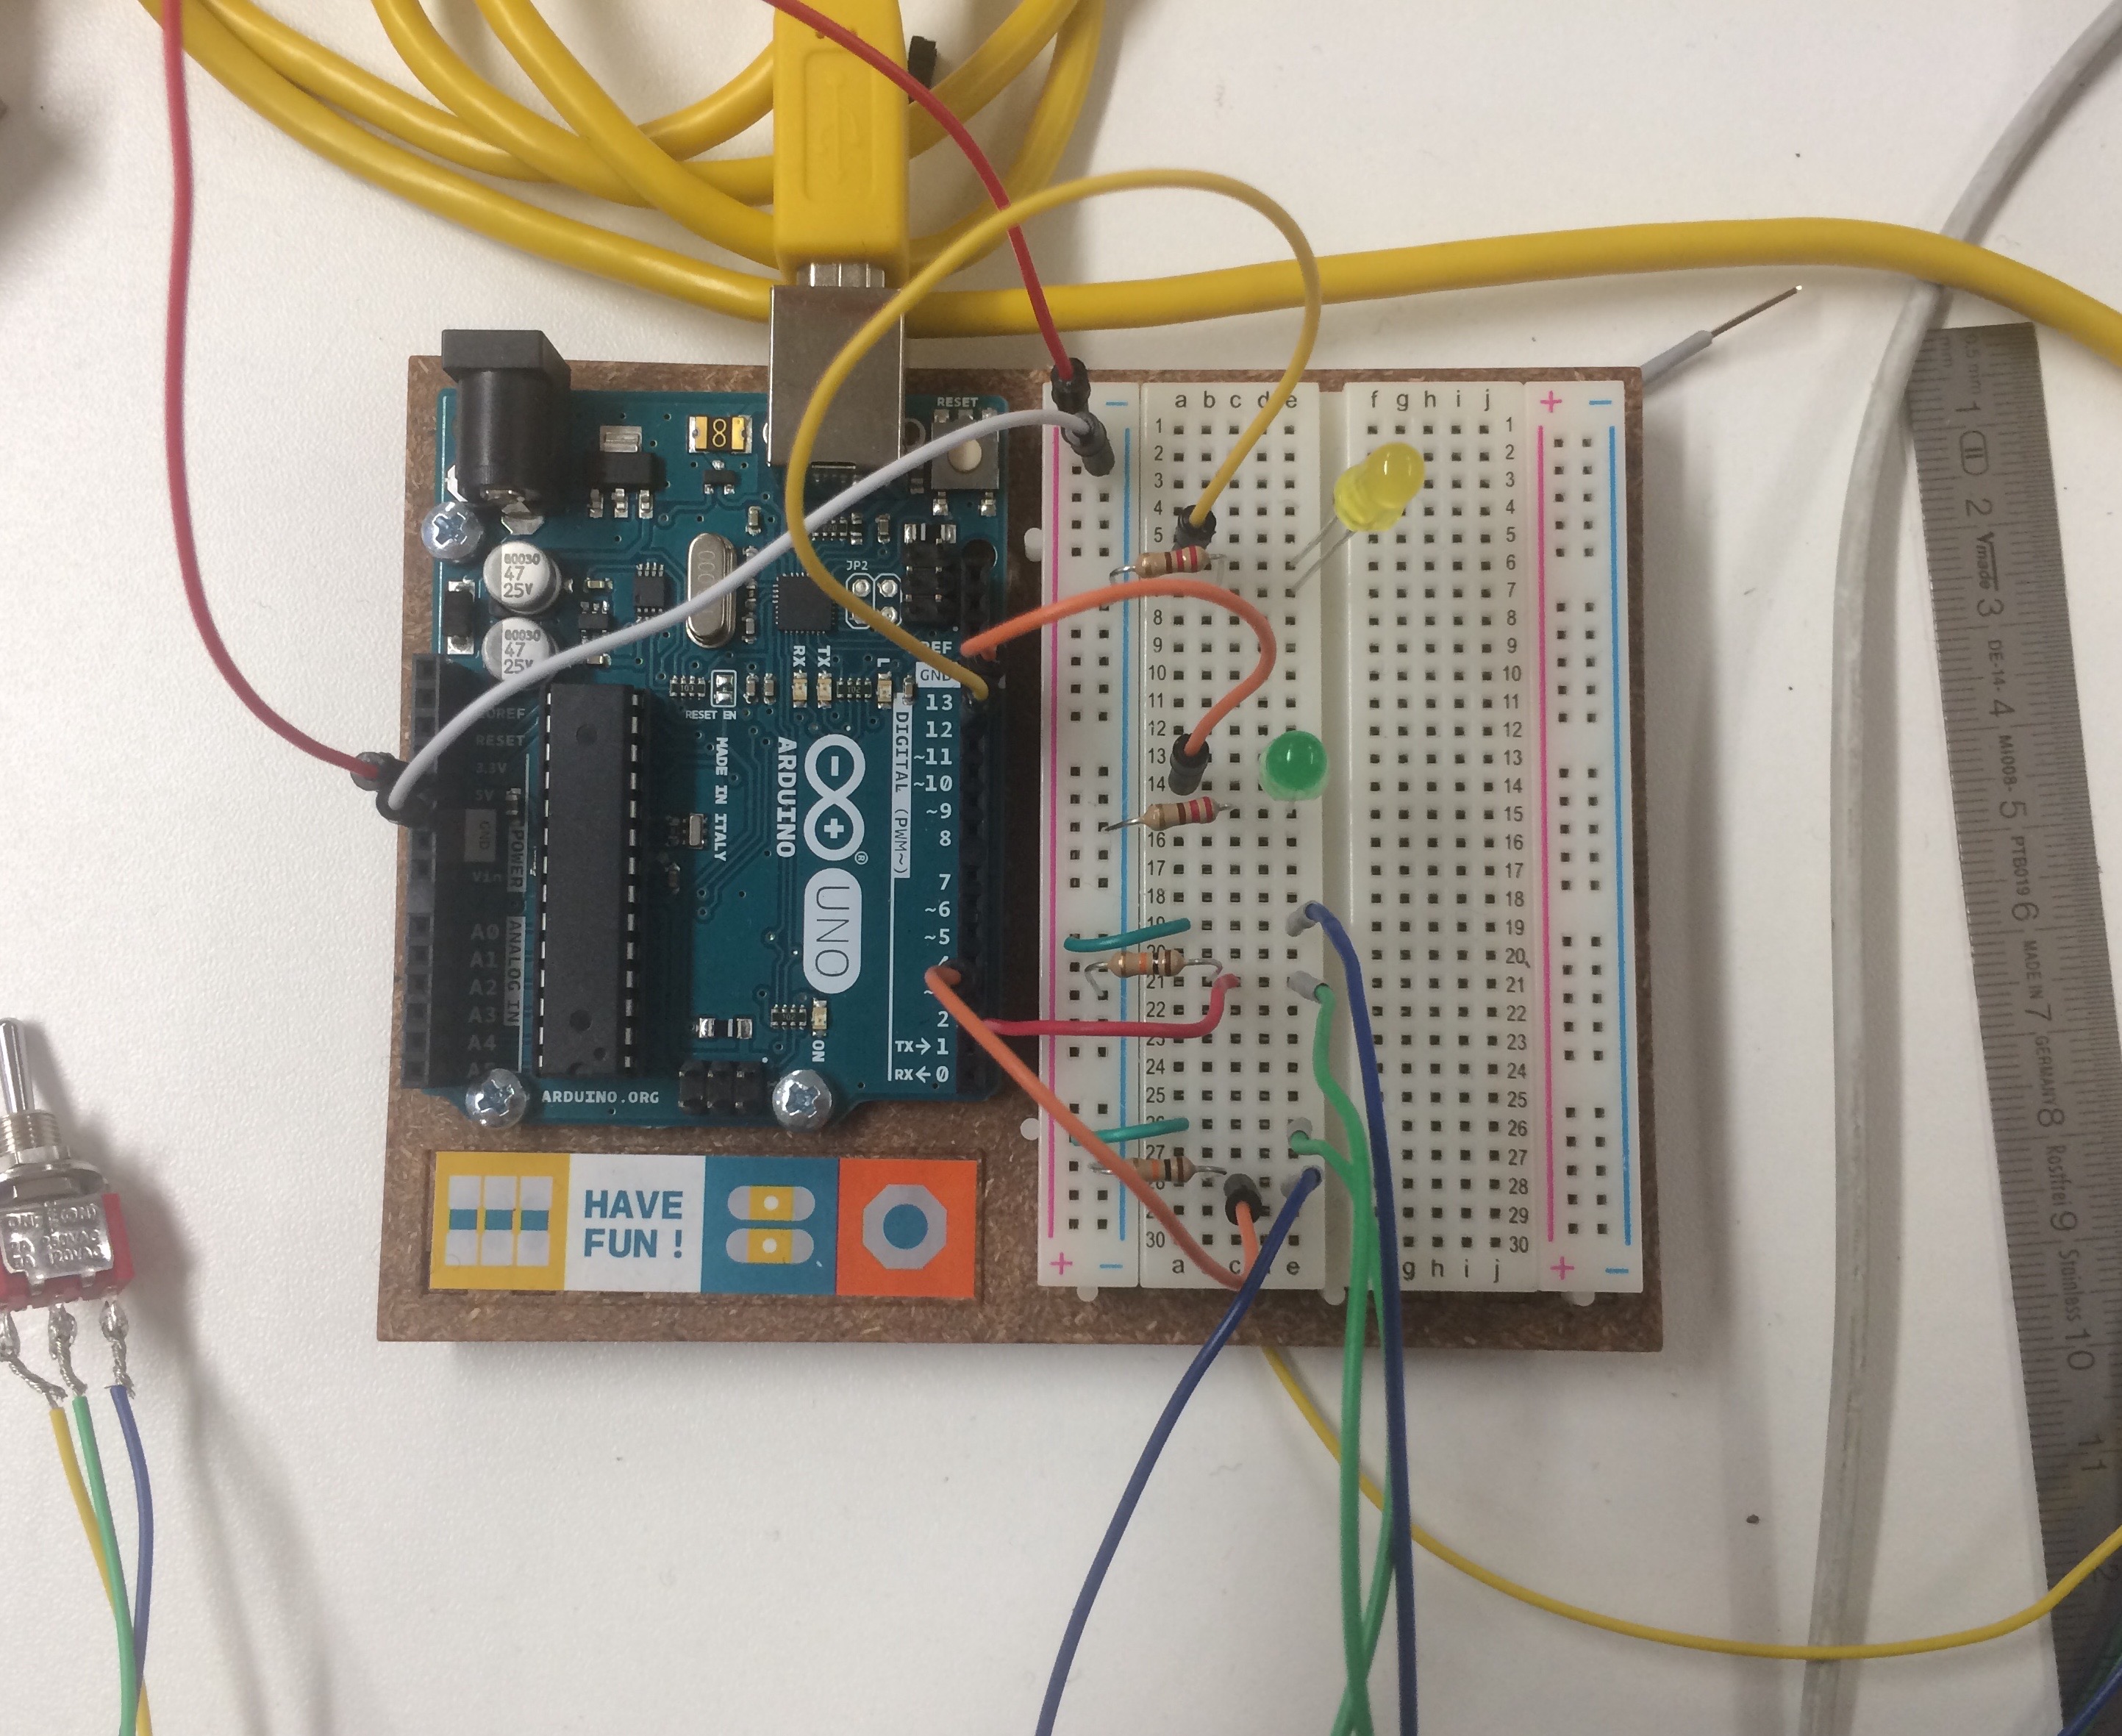
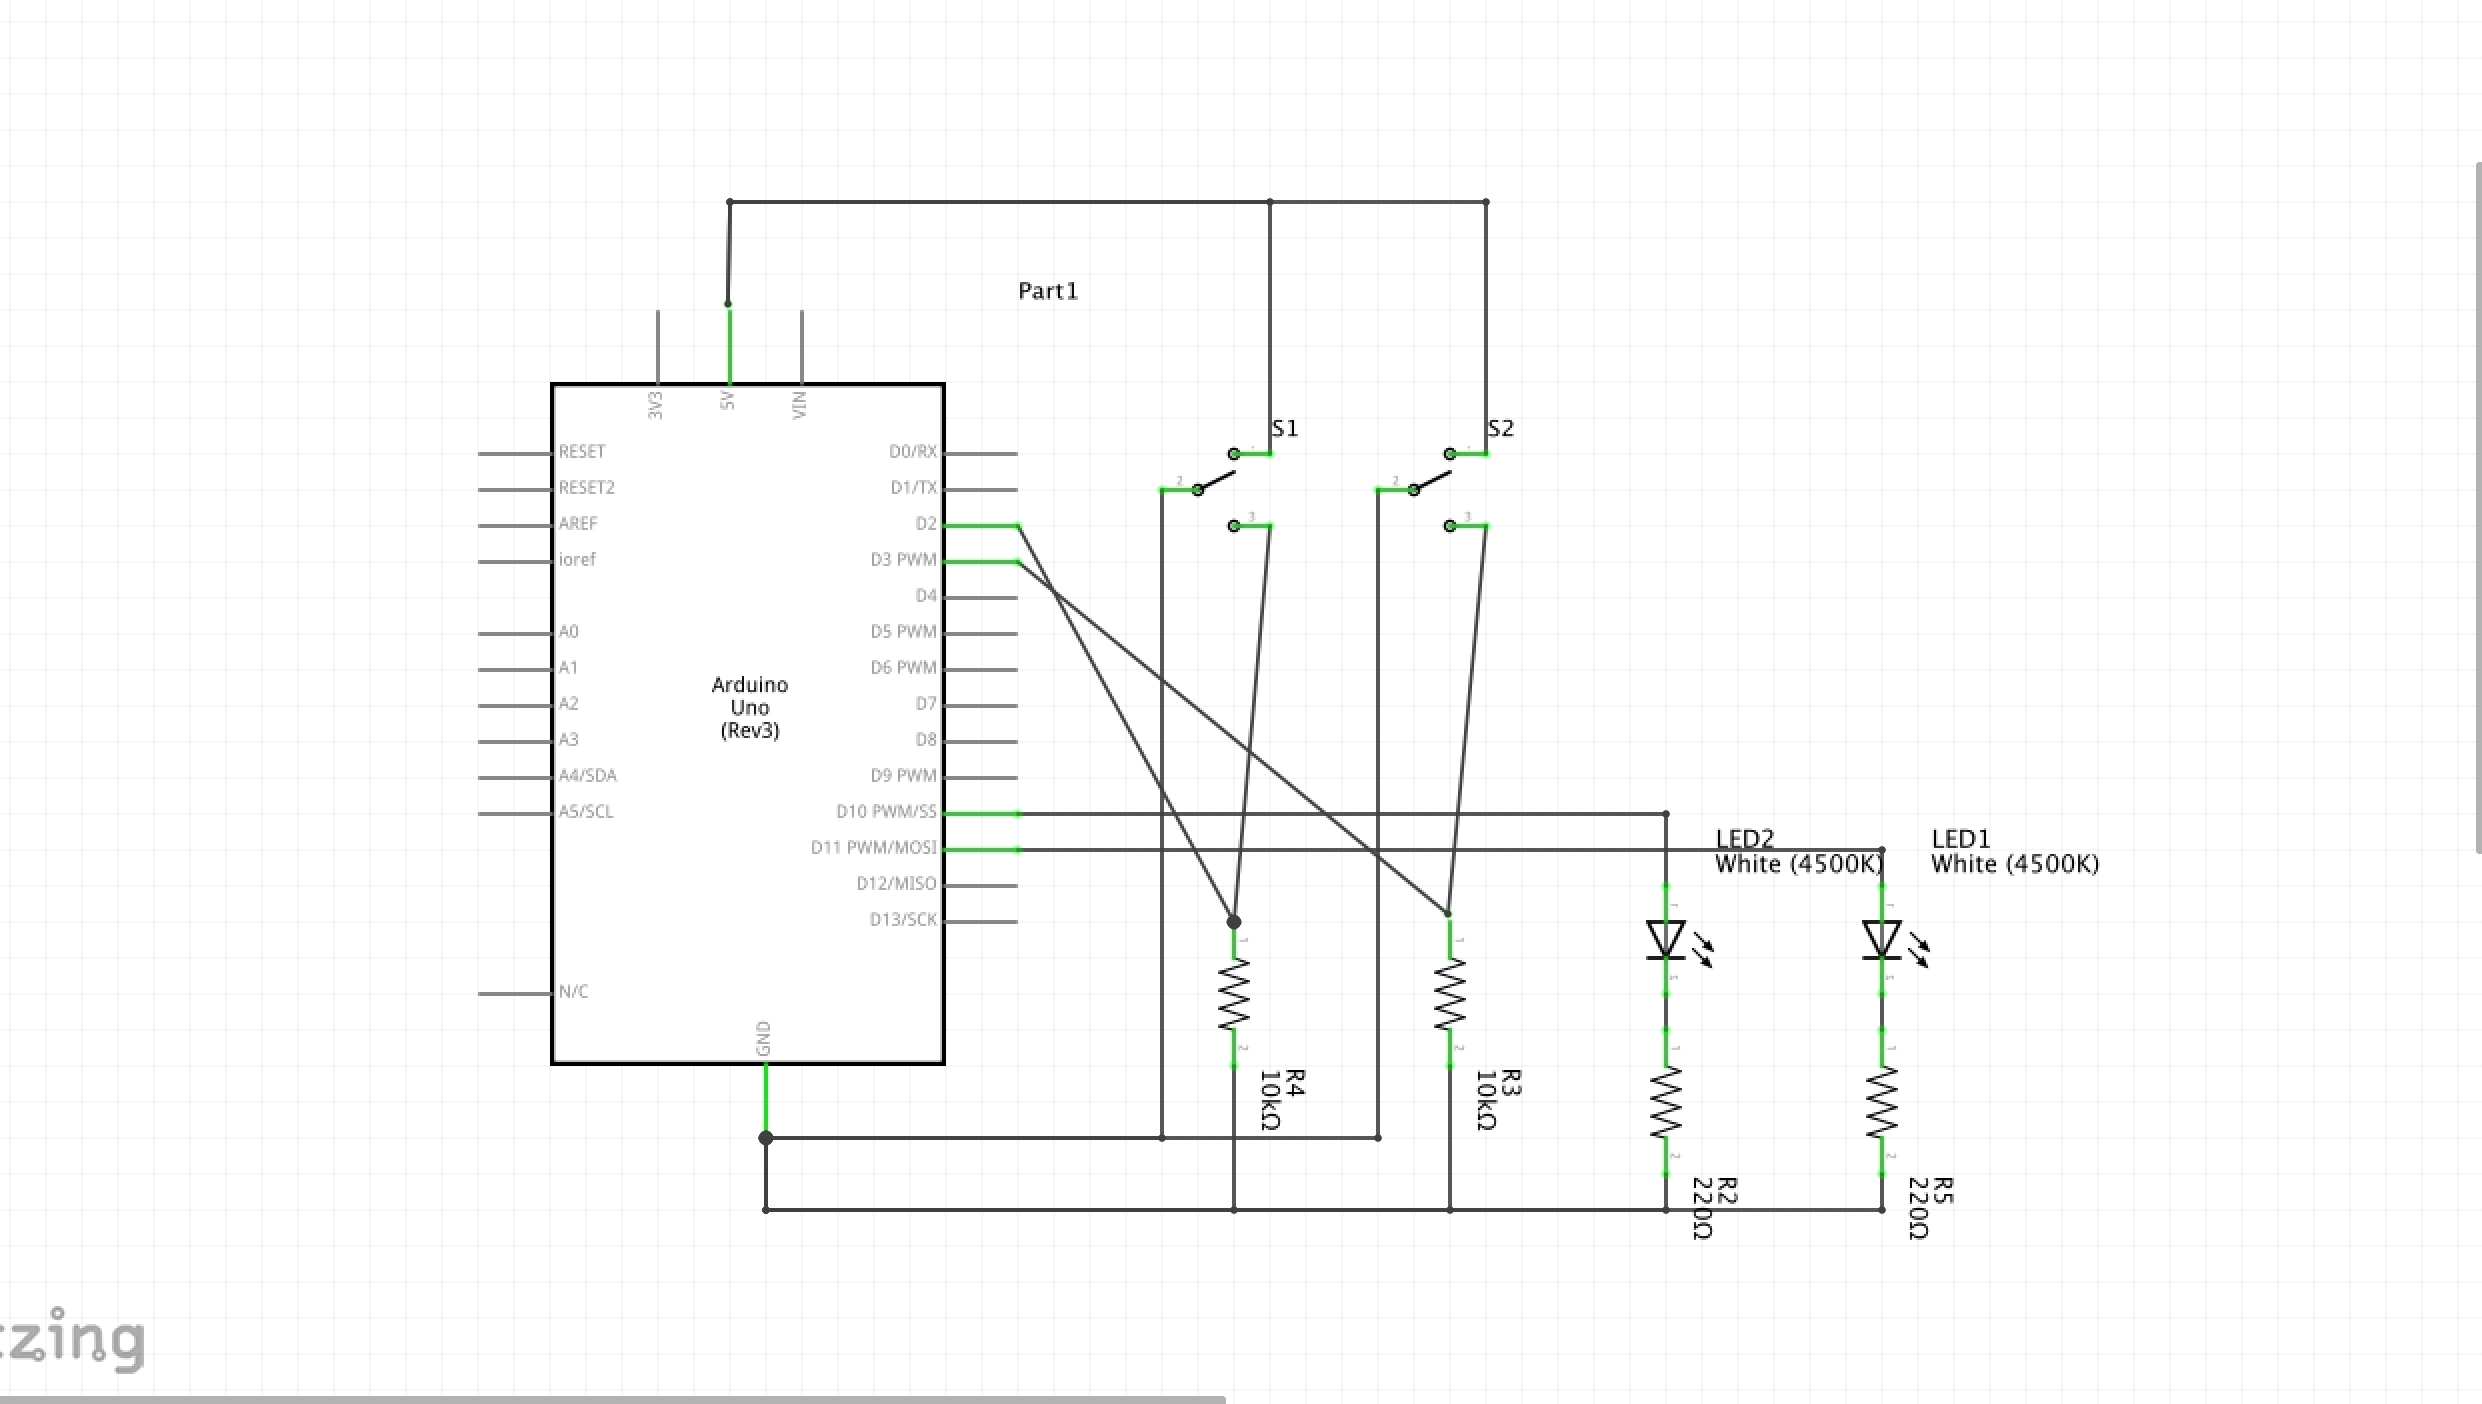
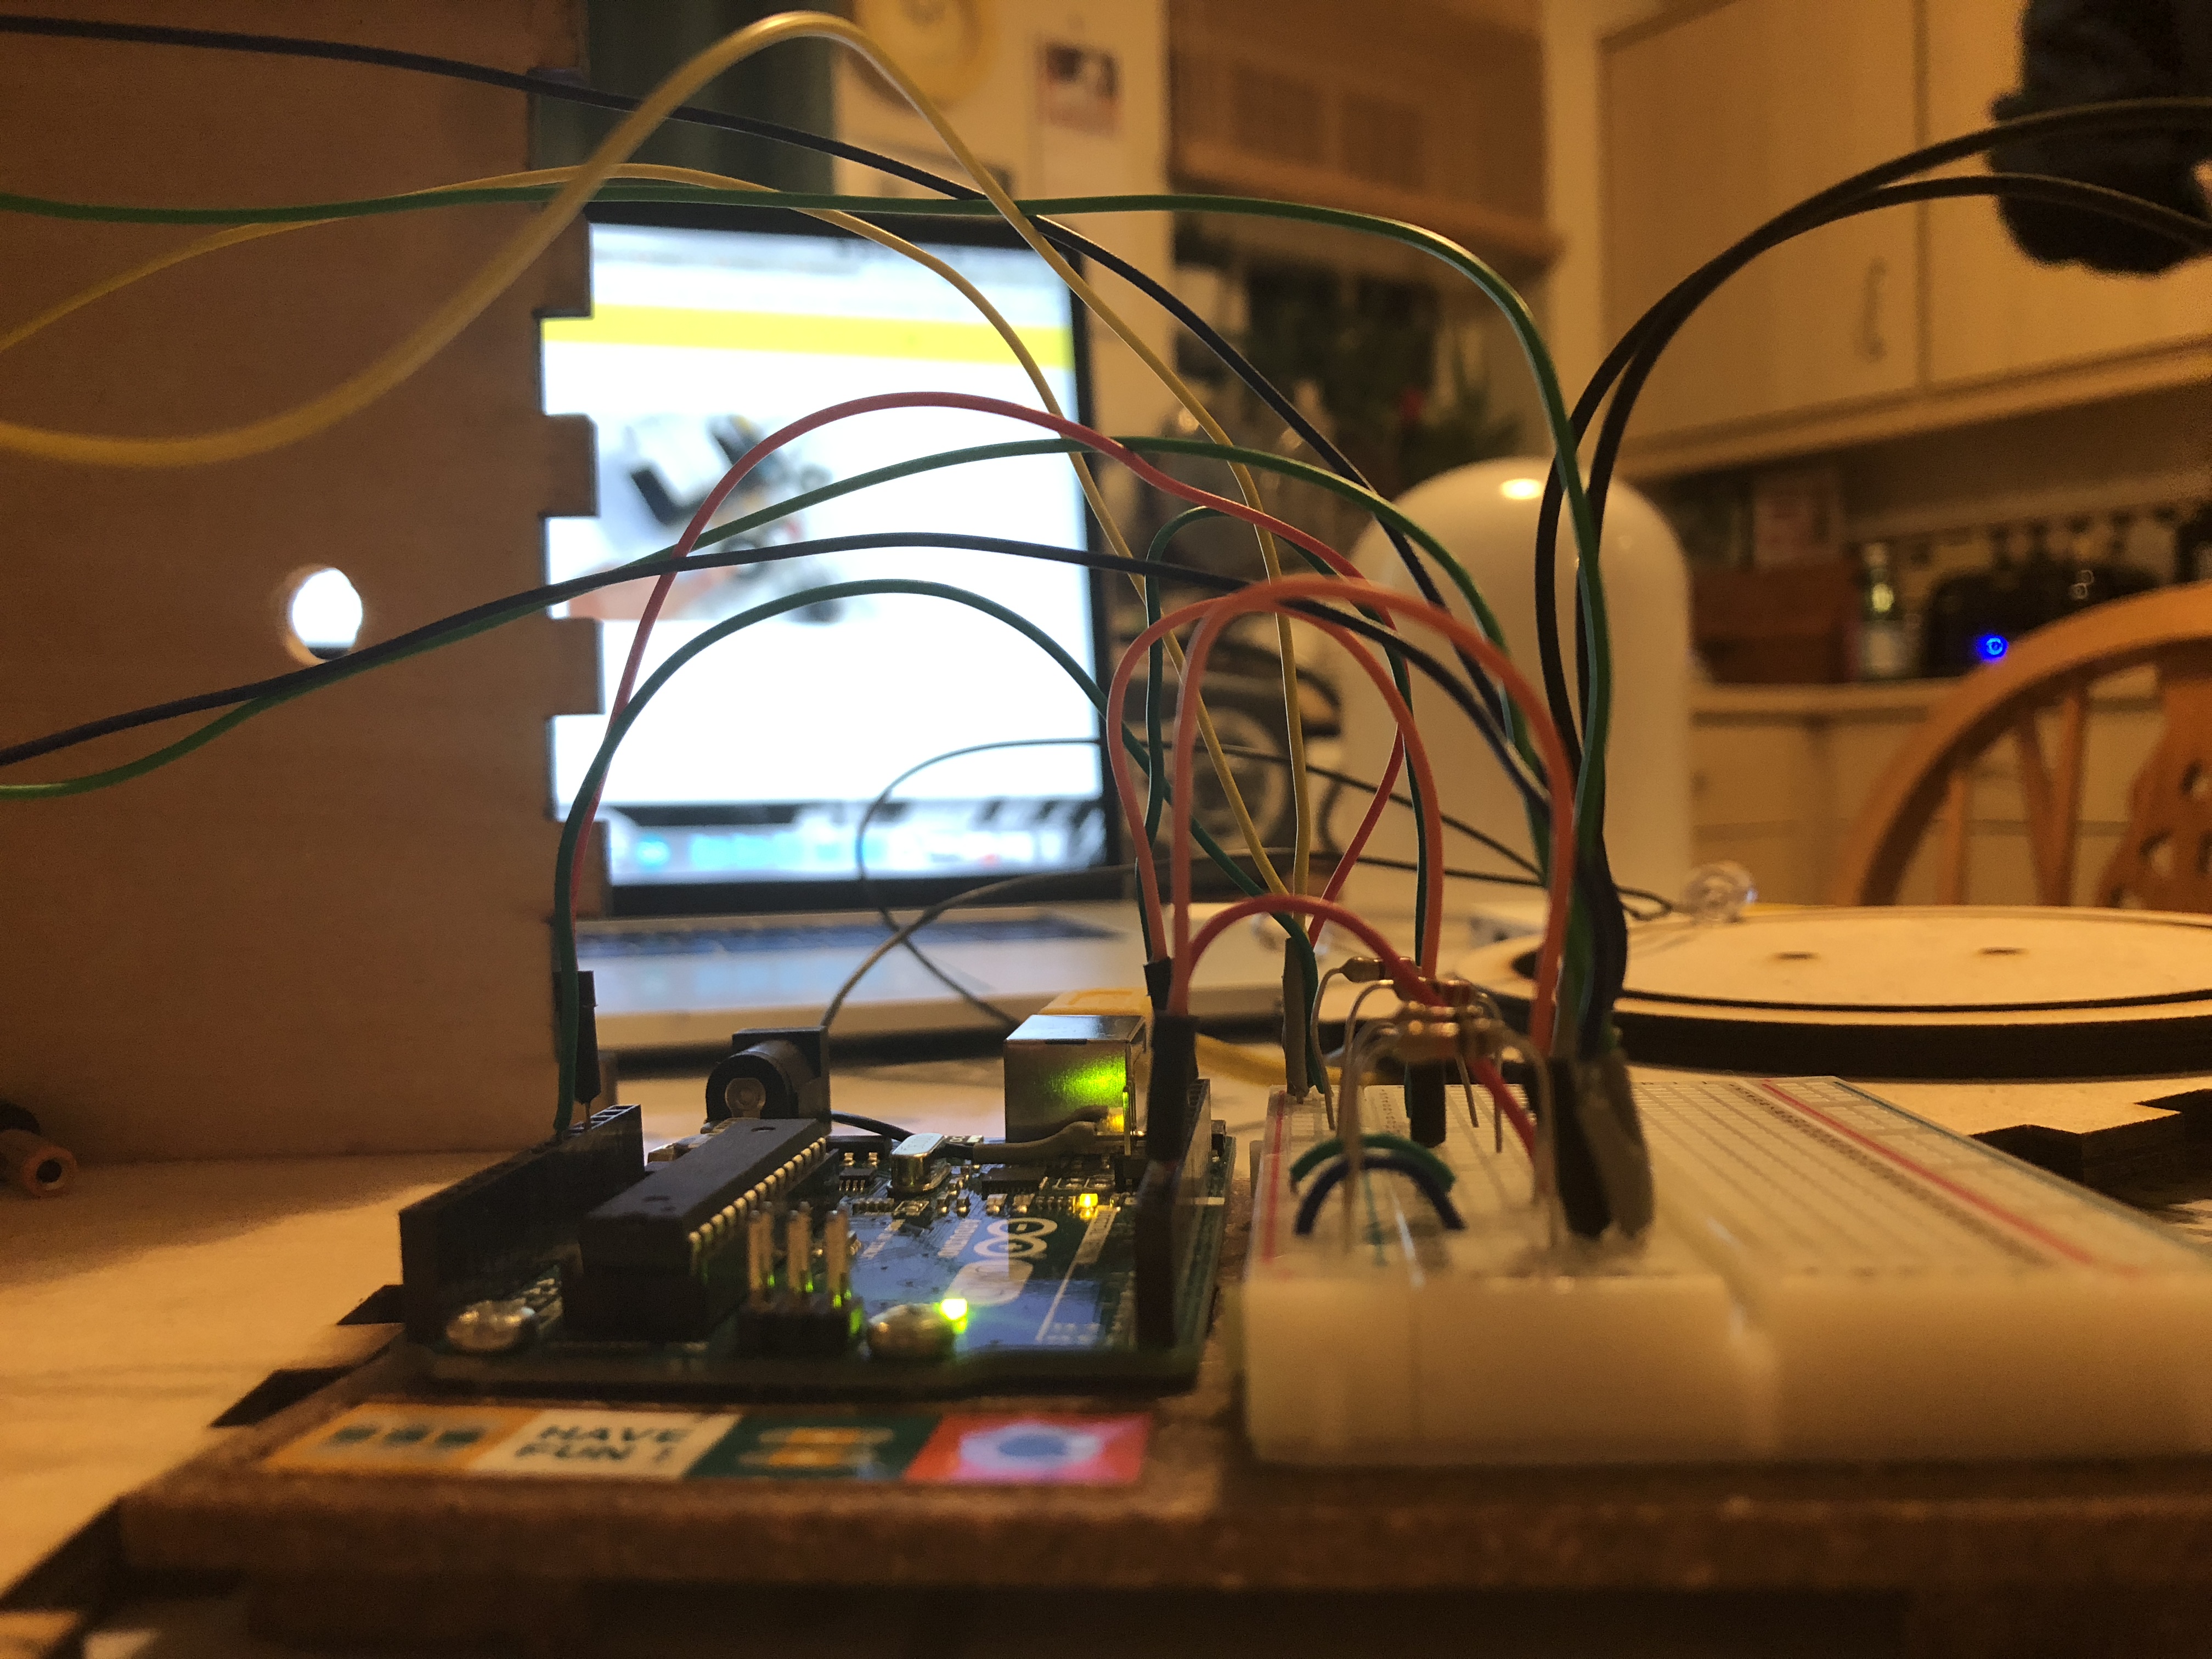
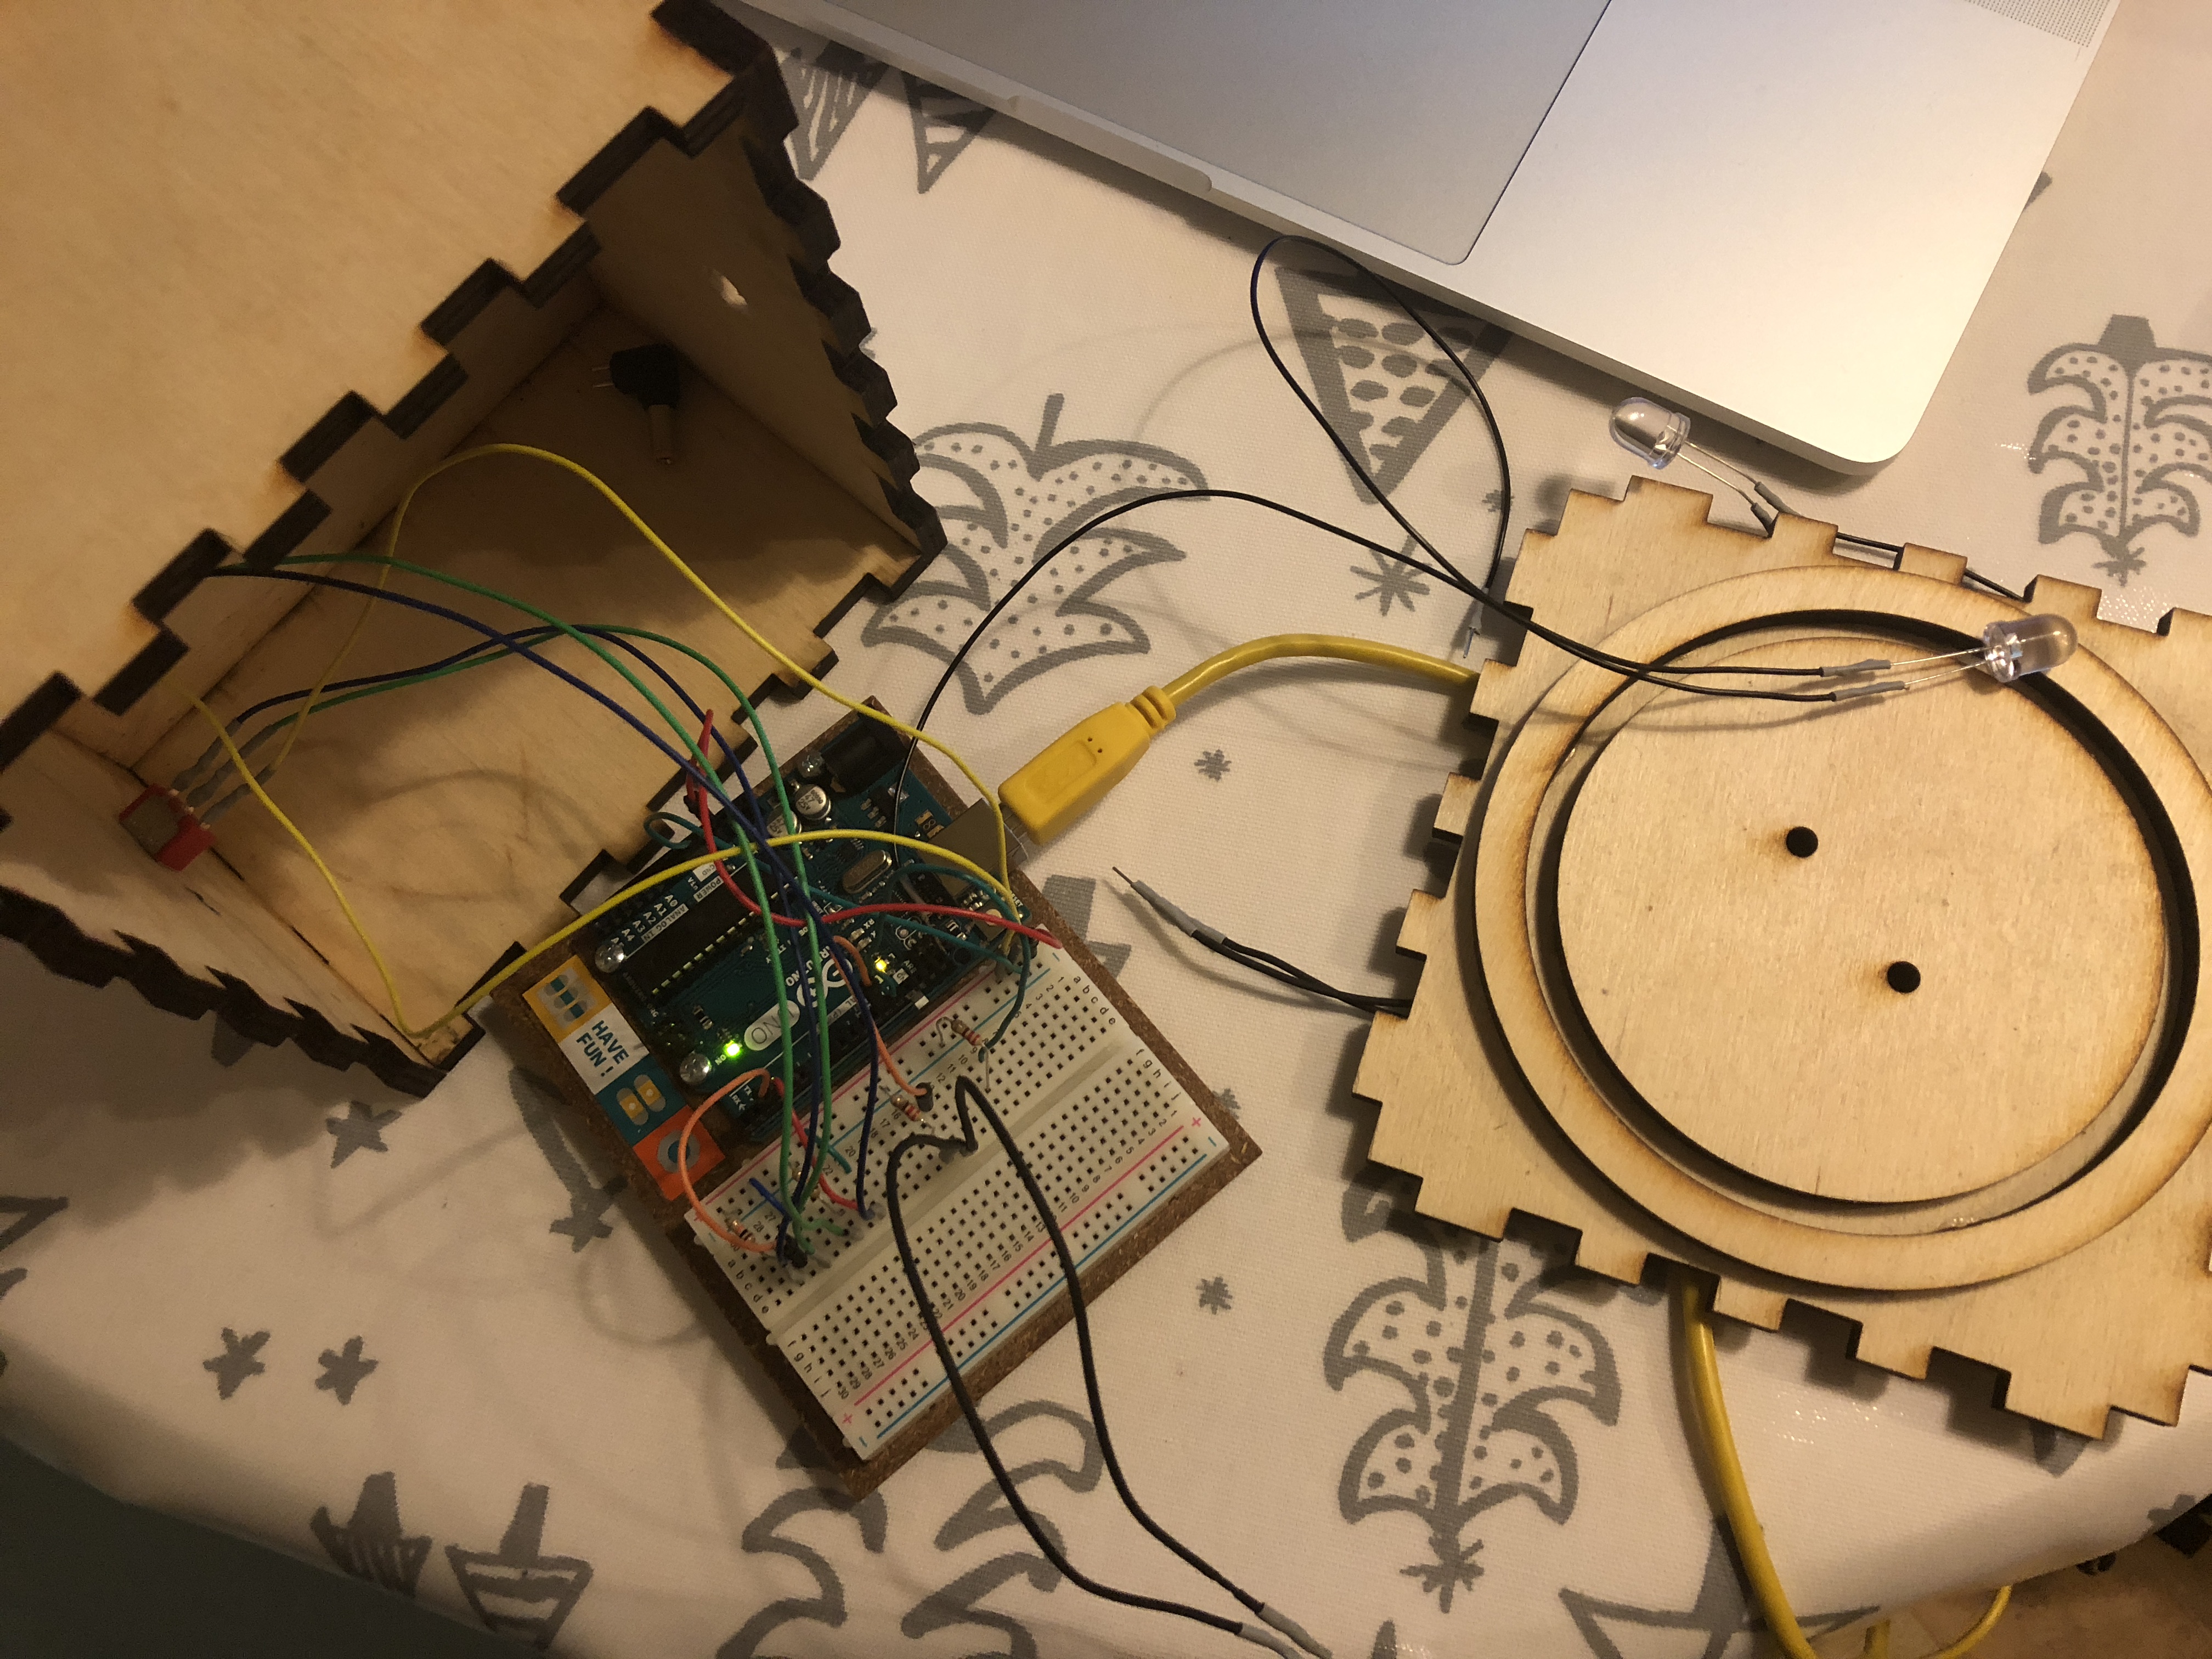
I used the Arduino, two LEDs, two switches, glass cloche jar, and laser cut a box. The two switches each had two states which I wanted to control an LED and have two functional states; one to turn on and stay on and the other to set a timer. What I had difficulty with was setting the timer for the second state because it bounced back to off, instead of staying in that state. So, I used a for loop to have the LED start at maximum brightness of 1024 and then run through till it reached 0 and turn itself off. Unfortunately I have gone through a couple of LEDs so I soldered the switches to a strip board but left the LEDs alone. Also, they have to fit through the top holes under the cloche jar so they have to be unattached otherwise you couldn’t take the top off.
DESIGN & FABRICATION:
In many parts of the world during the winter months there is an incredible lack of sunshine. I wanted to create a light that in a way simulated sunshine and helped combat those vitamin-D depleted moments. The SAD lights that are on the market are enormously expensive which is a shame considering how many people suffer from SAD. I wanted to create a cheaper alternative that had a bit of whimsy.
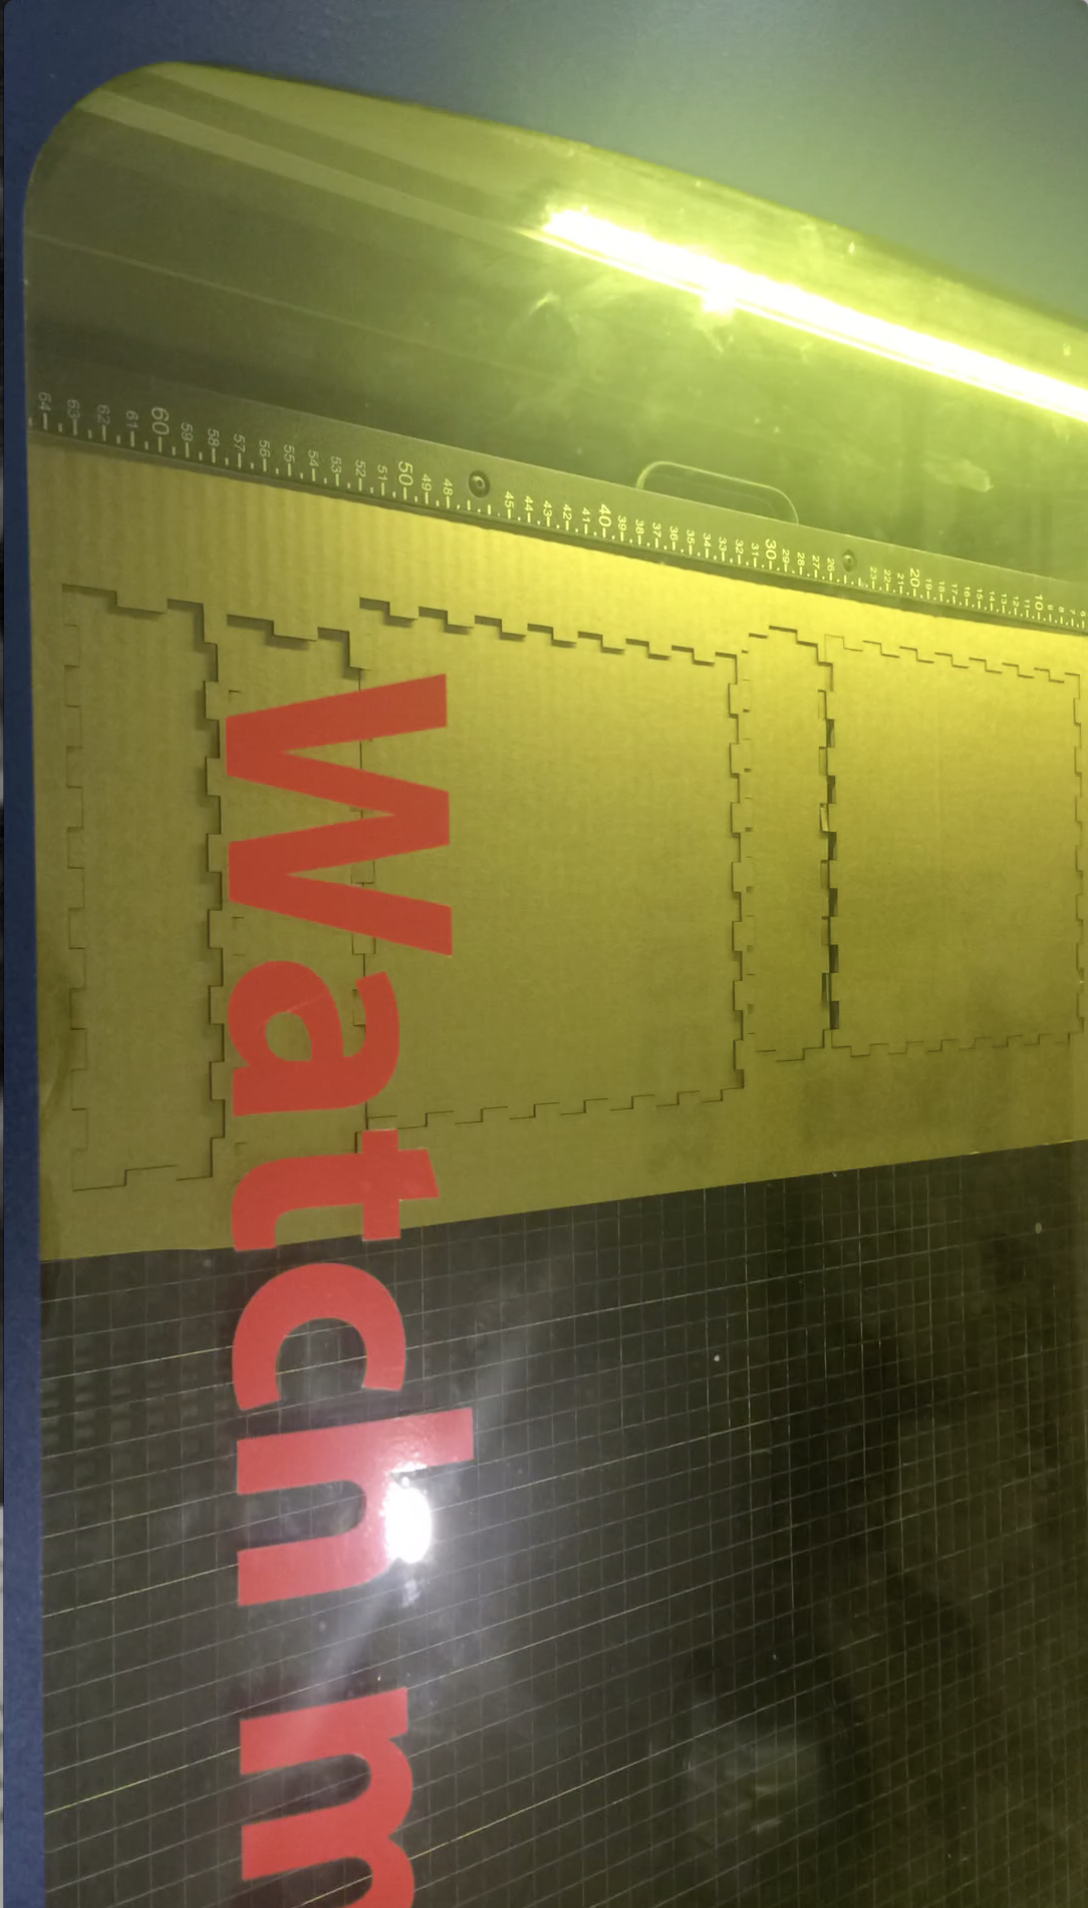
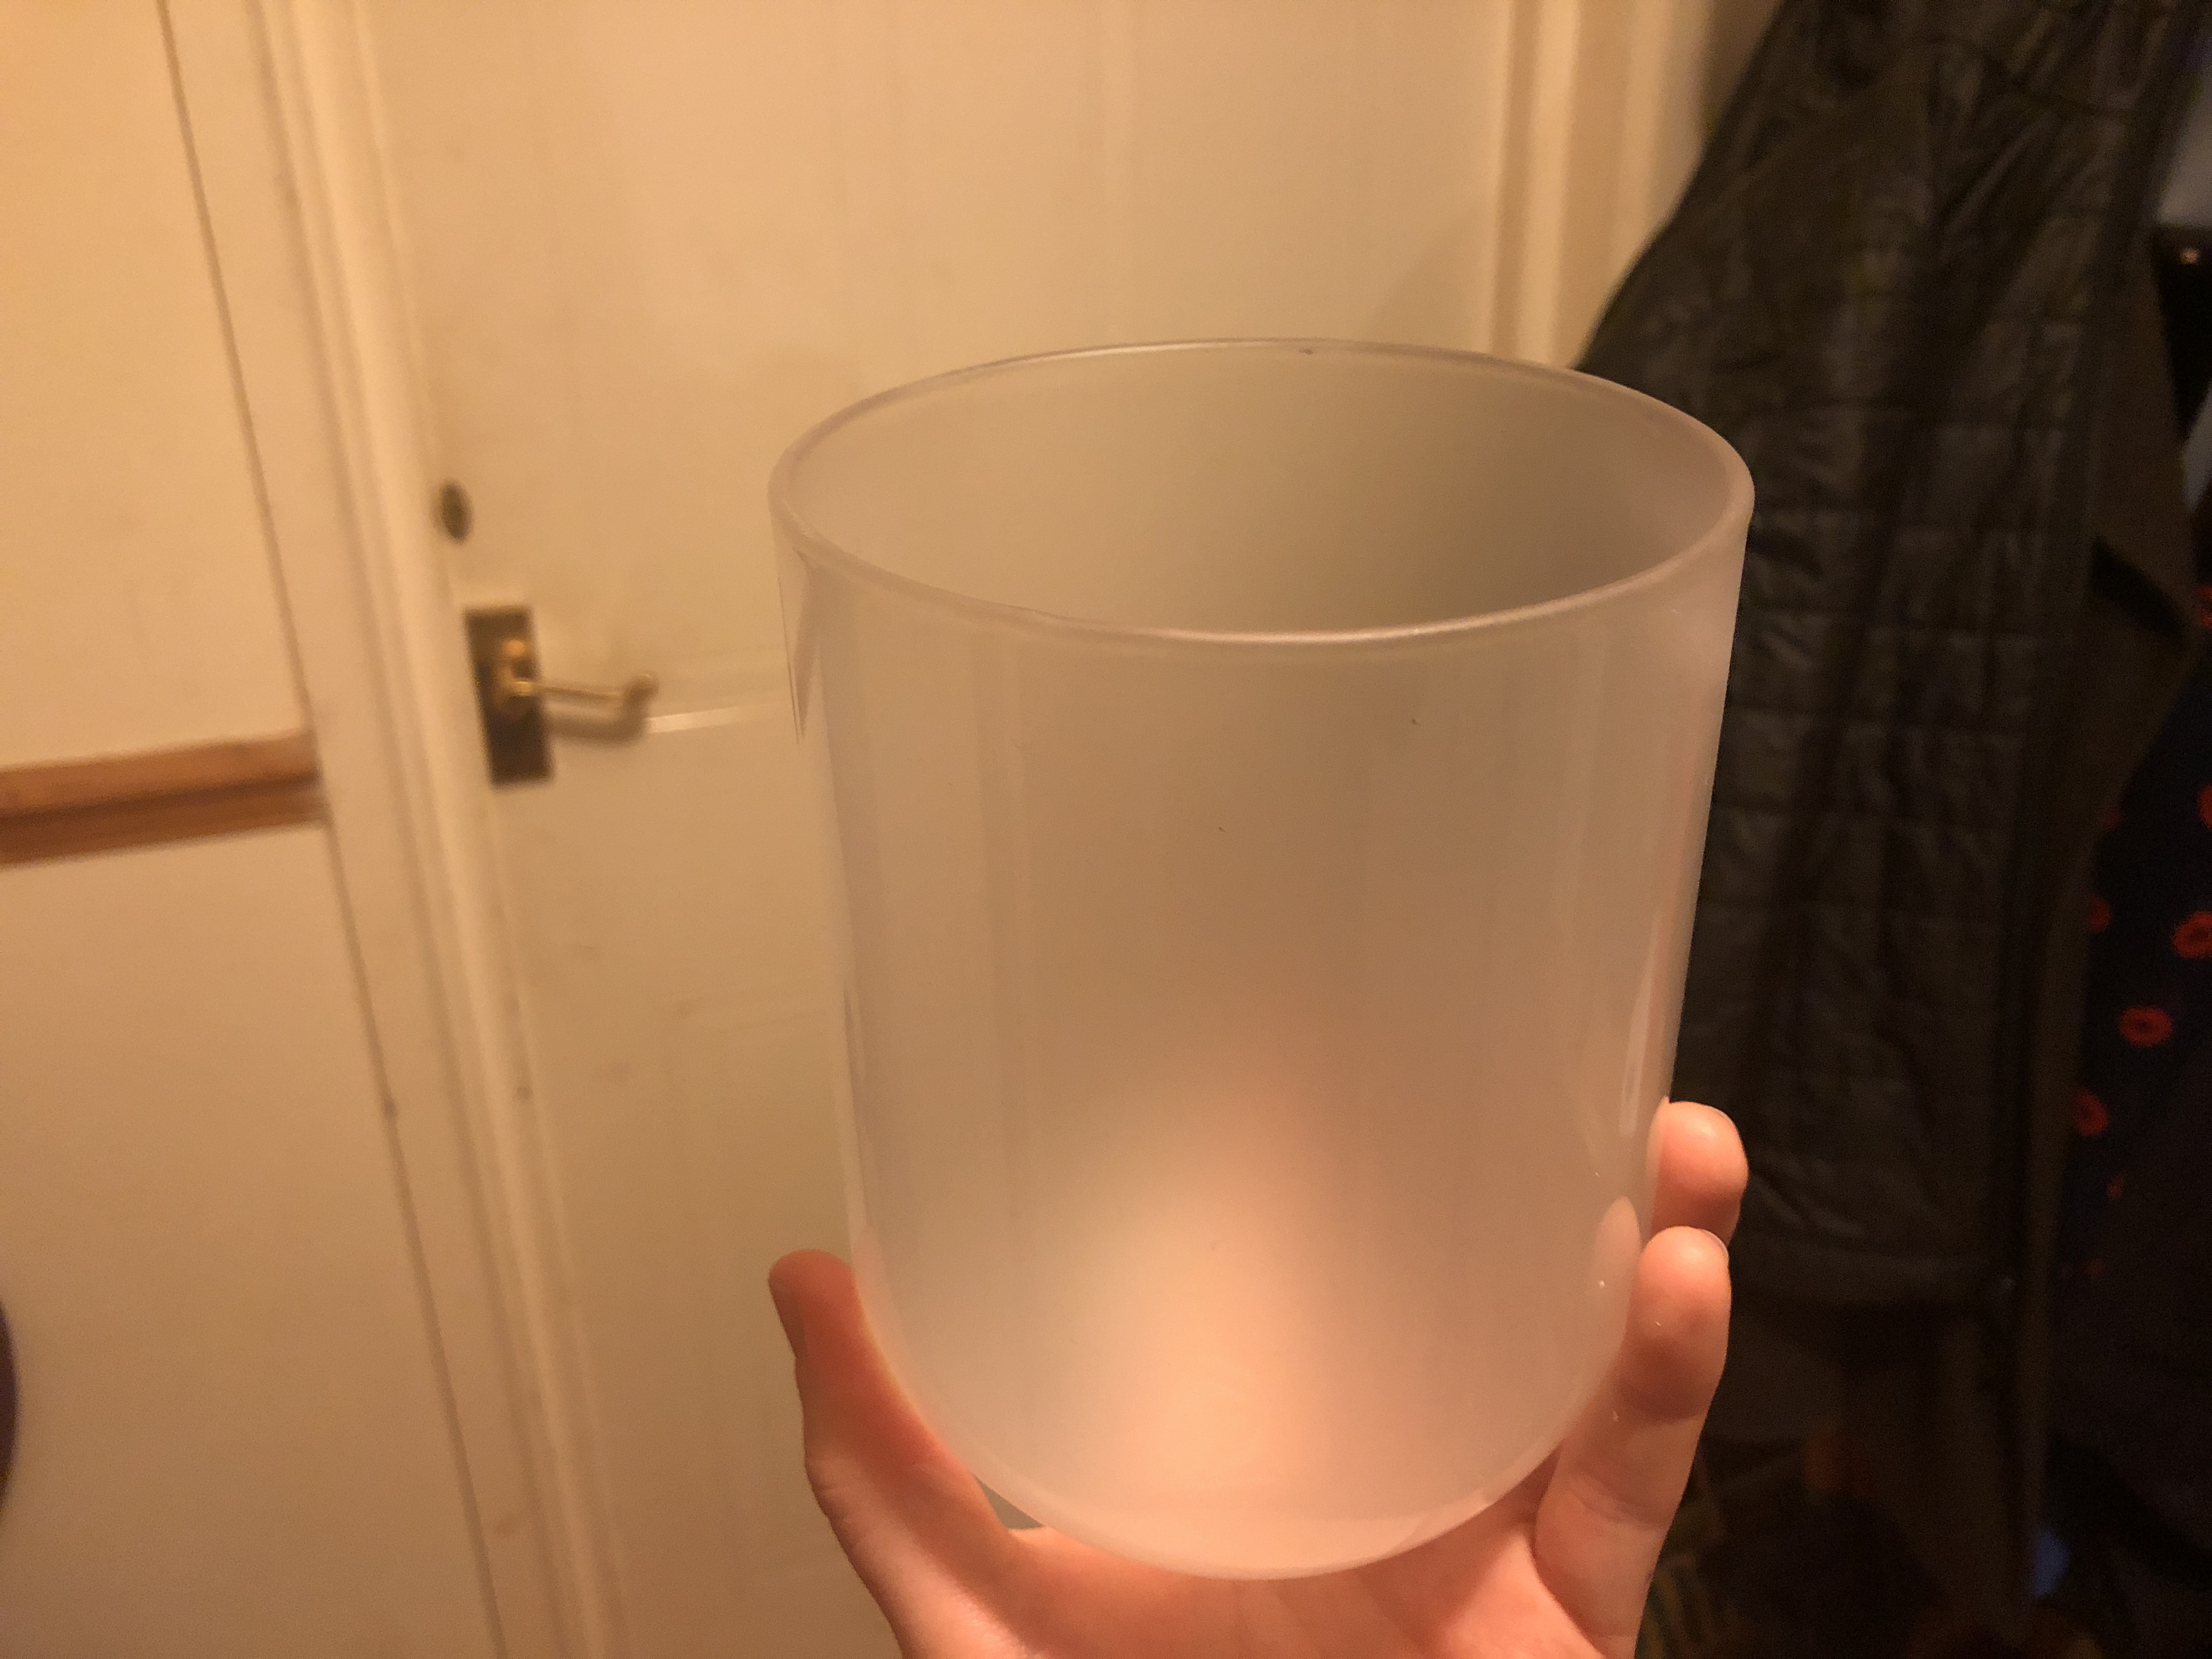
At first I focused on the fabrication side of my prototype. I wanted to design a simple and straightforward light that was easy to use. I laser cut a cardboard box because I initially thought to have the shape as a rectangle and have one side that emits light but through peer review, someone suggested a cylindrical shape for the actual light. I ordered the glass cloche jar off of amazon and then sprayed the inside with a glass frosting spray. I wanted the LEDs to be centred in the base but also positioned so you couldn’t see the Arduino. So, I soldered female header pins and a length of wire as well as laser cut four circles into the box. Two for the LEDs to pop through and an inner and outer circle for the glass jar to rest on. I laser cut a box that was less rectangular for the jar to sit on so that there was enough space for the Arduino and consequent wires. It has been remarked that it looks quite a bit like a spaceship but I like that.
FURTHER DEVELOPMENT:
Whilst I really enjoy the aesthetic appeal of the switches I used, plus they have a really satisfying click. I would use a potentiometer in the next iteration simply because with the switches you only have two options - continuously on or a short timer that could be augmented but you would have to hook it back up to alter it. If there was a potentiometer alongside a switch I think that would be a good next step. It would allow the user to manually set the length of light.
Also, I think it would be tremendous to possibly use an Arduino shield and have a program that is able to retrieve the forecast for the week. So it knows when it is meant to be cloudy over the next couple of days and could turn itself on so that you could wake up to sunshine in some manner.
Currently, the light is not all that transportable. I think it would be cool to make a smaller, travel version and use an Arduino mini or something so that it could be quite compact. If you chose to holiday in Alaska in the dead of winter, why not take a SAD(der) light with you?
THOUGHTS:
I have been continuously challenged by this project and that has been frustrating but rewarding when things do happen in the way I intended. I have learnt so much about laser cutting and soldering as well as circuit building. I am really grateful for these skills and would like to take them further. The opportunity to build something from scratch was daunting at first but it has turned out to be something quite rewarding.
REFERENCES:
www.makercase.com
I wouldn't have been able to make this prototype without help from other people. Everyone that helped me took time out from working on their project and I am really grateful for that.


